How to drill holes properly!
Tips for drilling holes in wood, masonry, glass, mirrors, porcelain tiles and more

On these pages there are tips on how to drill pretty much all of the normal materials you'll come across on a building site or when carrying out DIY jobs at home.
There are lots of different materials carpenters come across every day and the methods and tools for how to drill each one effectively varies quite a lot. Cordless and power drills are so handy I generally use two (normally one cordless drill and a impact driver) and often three if the SDS hammer drill is being used too.
To start with the drilling basics keep reading. Alternatively if you are after some quick information on drilling one of the below click straight through;
How to Drill / Drilling 101
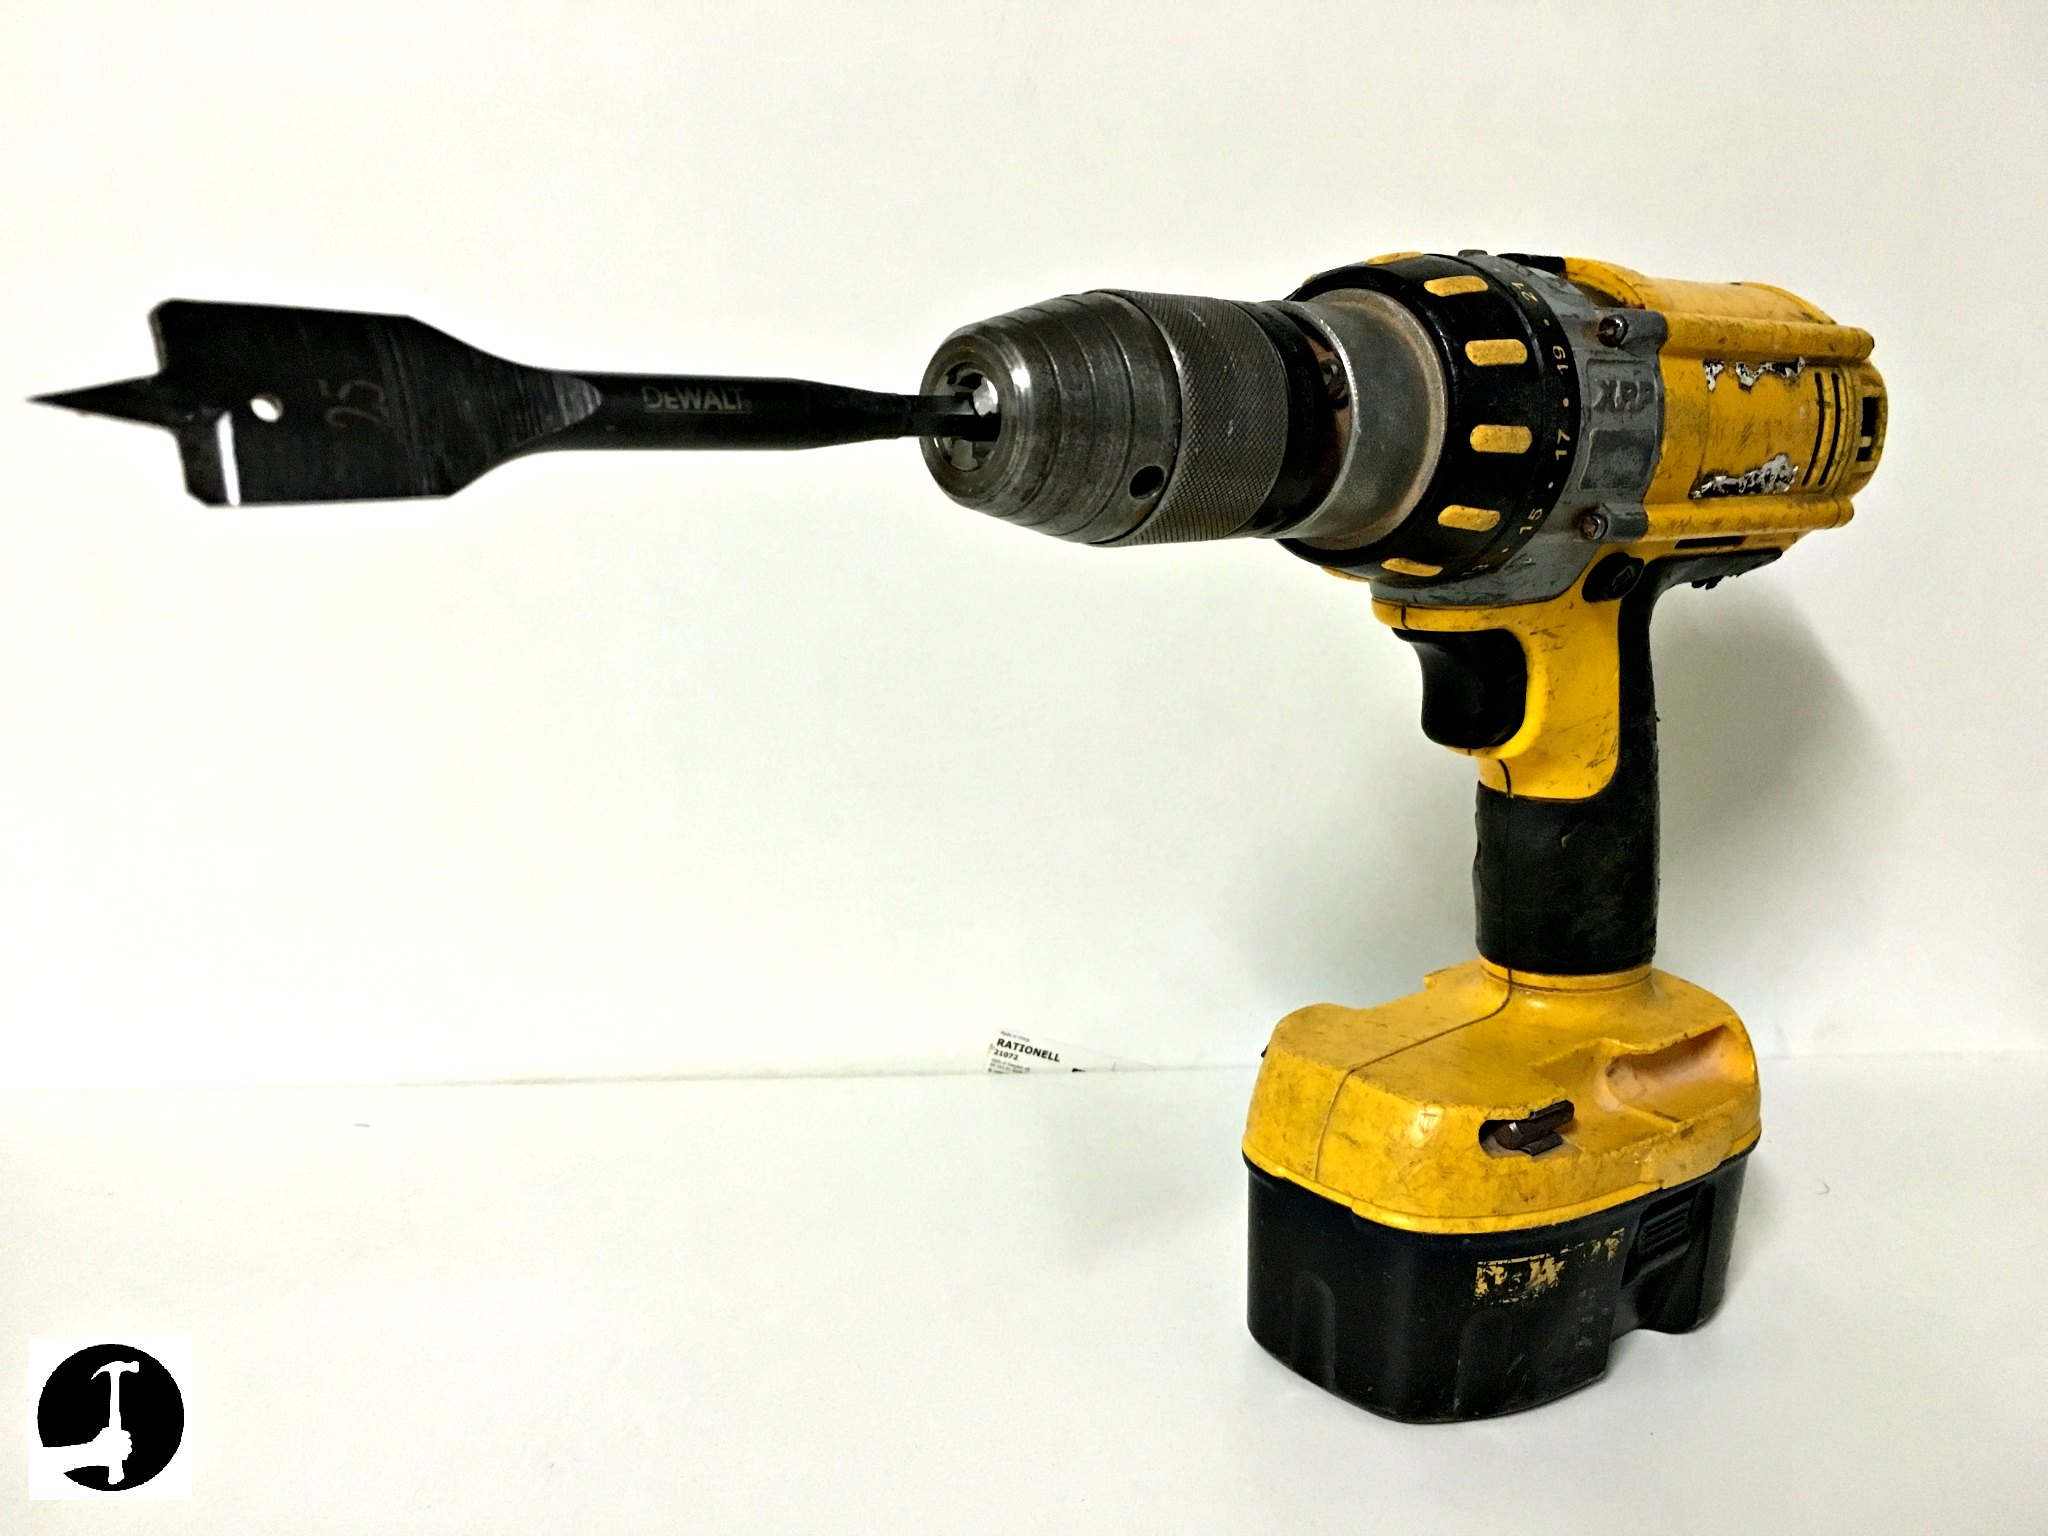
During fixing carpentry and many other carpentry jobs the hand drill is often the tool I use the most throughout the day. Arguably it is the most versatile tool, up there with the router and with a seemingly endless amount of bits and accessories available for various different tasks. Apart from drilling holes of all different sizes, you can also use your drill as a screwdriver.
Power drills often have varying speed settings, gears and a rotary hammer action that can be switched on or off. The gears work in a similar manner to those on a car, for smaller holes that require less torque you can select a faster gear. For larger holes that require more torque select a lower, slower speed, lower gear and let the drill bit do the cutting. It is also important when drilling larger or more difficult holes (hole saws and core bits especially) to use a slower speed because if the drill bit bites and gets caught the drill can do the spinning instead, taking your wrist with and possibly breaking your arm! You can adjust the clutch on many drills so that they step in and prevent that from happening.
With regard to speeds too faster gears are better for drilling metal with HSS (high speed steel) drill bits whereas concrete and other masonry bits will simply get too hot and burn if you use too fast a gear.
Drill Chucks
Modern drills have keyless and SDS chucks as opposed to the old drill chuck that required a special key to loosen and tighten the jaws around the drill bit. These are a great step forward as they save you a hell of a lot of time especially when you are using a few different drill bits at the same time. The Chuck key used to be the most common thing to lose when you most need it too..

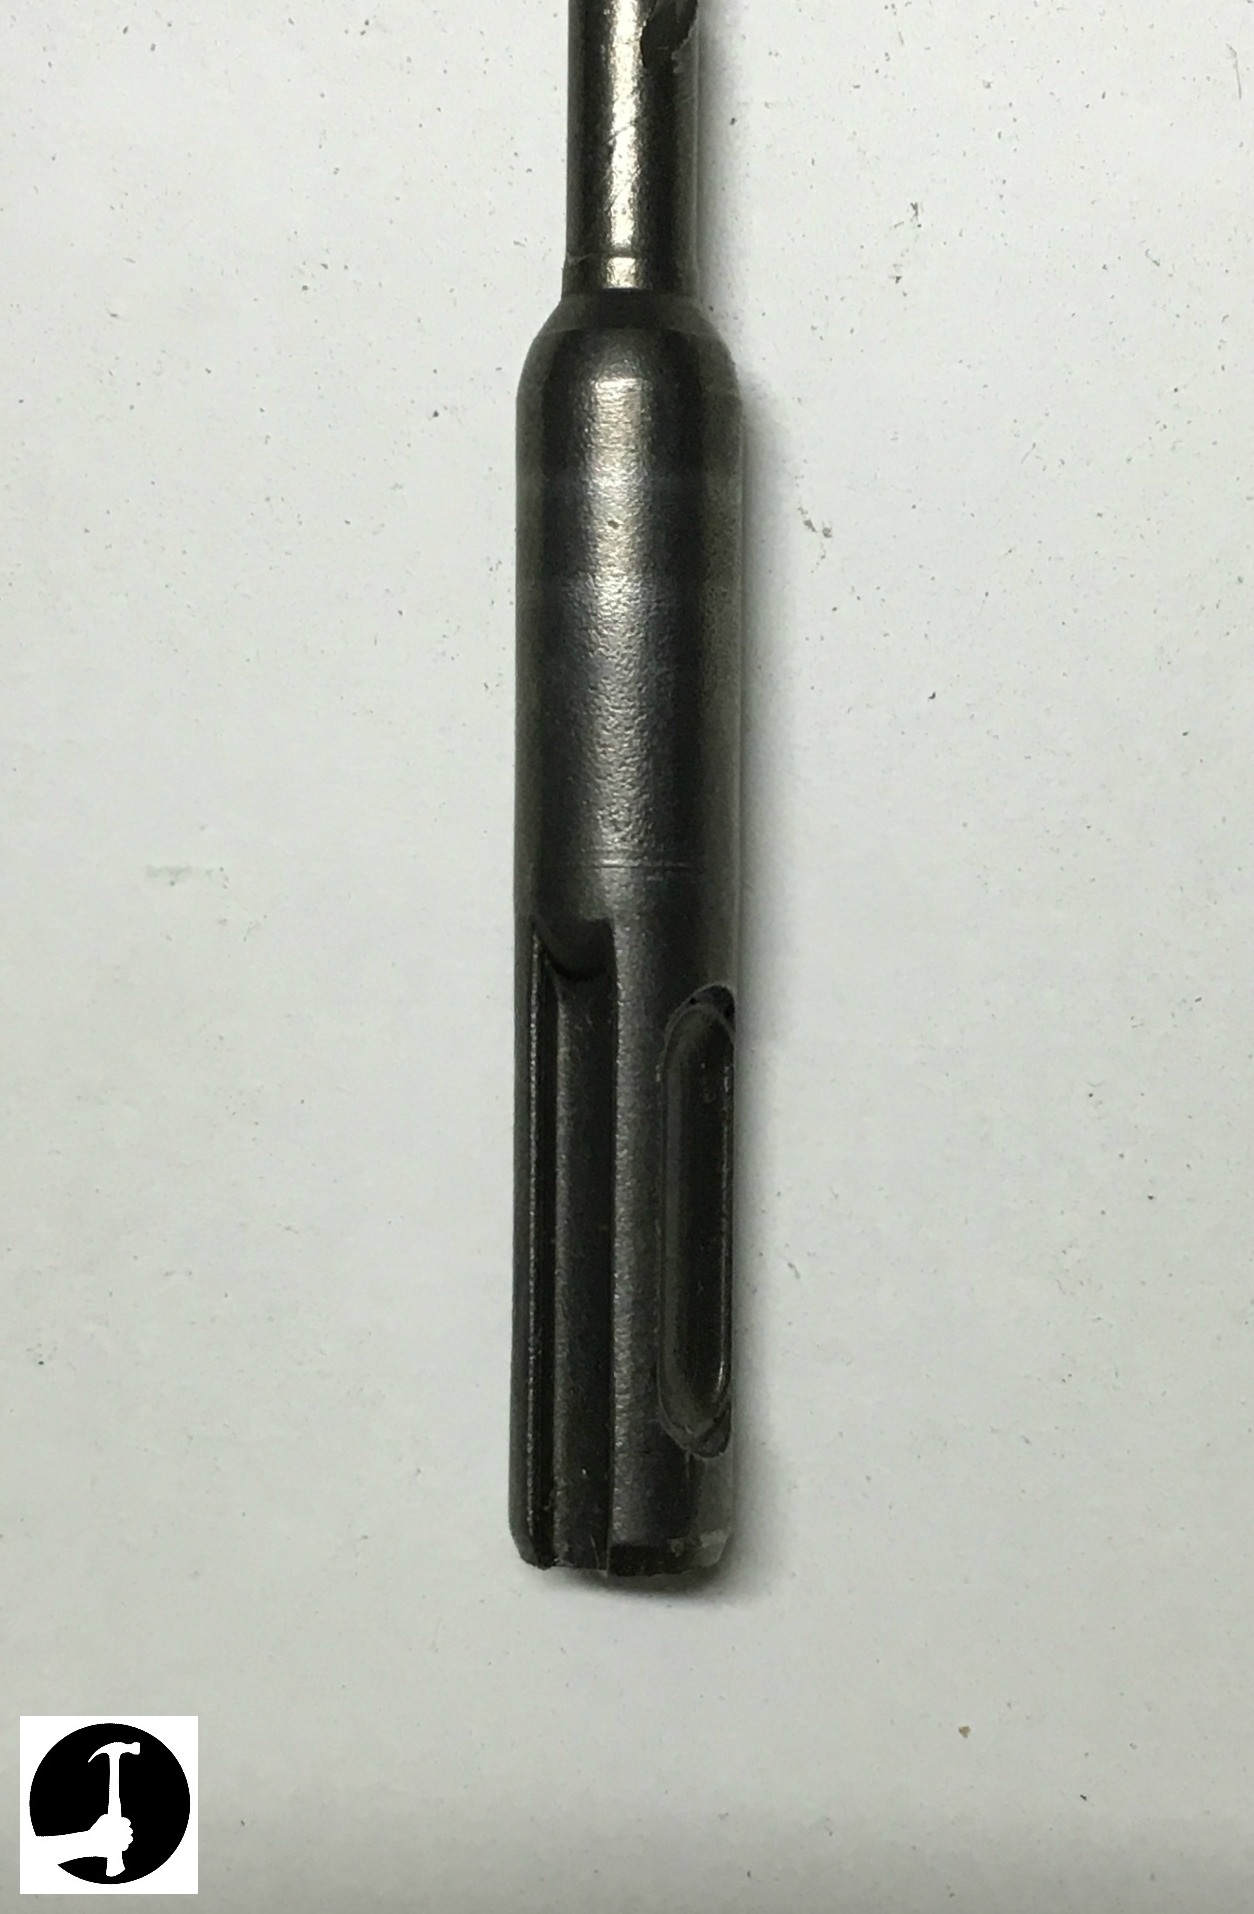
Keyless chucks can accommodate any drill bit with a normal shank, normally up to 10mm or 13mm. SDS drill bits are designed specifically for masonry drills and special SDS bits are required to be used with them. Most SDS drills have the option of turning off the hammer action specific to drilling masonry. In these instances you can get a chuck with an SDS attachment and normal keyless action, so you can use normal drill bits in your SDS drill instead of being limited to only drilling masonry with it.
Instead of 'unscrewing' the chuck to remove the drill bit, with an SDS chuck you simply slide the sleeve of the chuck back to release the bit.
Using your drill as a screwdriver
The days of using a traditional screwdriver are almost gone. The few instances where I do use one are for tweaking screws in cabinet hinges that a drill (especially impact driver) would overdo it. Also if a screw has been painted over and I need to undo it generally I will use a screwdriver, or when installing particularly nice screws that may have a nickel or other plating that can easily be chipped off. Apart from that it is almost always quicker and easier to use a cordless drill or impact driver instead.
How to drill ceramic and porcelain tiles
As long as you use the right drill bit it's easy to drill ceramic tiles without breaking the tile. You can sometimes get away with using a masonry bit, but don't set the drill to hammer action you'll shatter the tile!
Some ceramic tiles are too hard to drill with a masonry bit and for those I use Bosch Ceramic Tile Drill.
Porcelain tiles in particular are so hard you'll just burn a masonry bit out in seconds. Diamond Tile Drill Bits are much better in these cases and will last longer too (masonry bits can wear straight out when drilling tiles).
How to drill glass and mirrors
You need special drill bits for glass or for large holes use diamond instead. I generally use diamond hole saws for anything over 9mm or for thick glass.
Either mark the glass with a marker pen or use masking tape to make marking it easier.
Don't push too hard because you'll either break the glass or burn and ruin the drill bit. Lubricate the bit and the hole with water, oil or both to help keep the bit from burning and also to help clear debris from the hole.
How to Drill Metal
For metal I use high speed steel (HSS) bits.
If you are drilling an unusually large hole in steel use oil or water to lubricate the bit and prevent it getting too hot. Also, start with smaller bits and build up to the eventual size required.
How to drill marble or granite tiles
The special drill bit I use for small holes in slate, marble and granite has a diamond sharpened carbide tip.
When drilling marble the trickiest part is getting the bit started without it slipping across the surface. Either put tape on the tile or use a marker pen to accurately mark the tile before drilling.
Then, drilling very slowly start turning the bit to create a starter hole. Once the hole is established a little more speed and pressure can be applied, but don't press too hard - let the bit do the work. Water can be applied to keep the bit cool and prevent it from burning.
Click here to see more of the drill bits and sizes I use.
Have a question or comment about how to drill various materials?