How to Install a Kitchen
Fitting kitchen cabinets, plinths and worktops
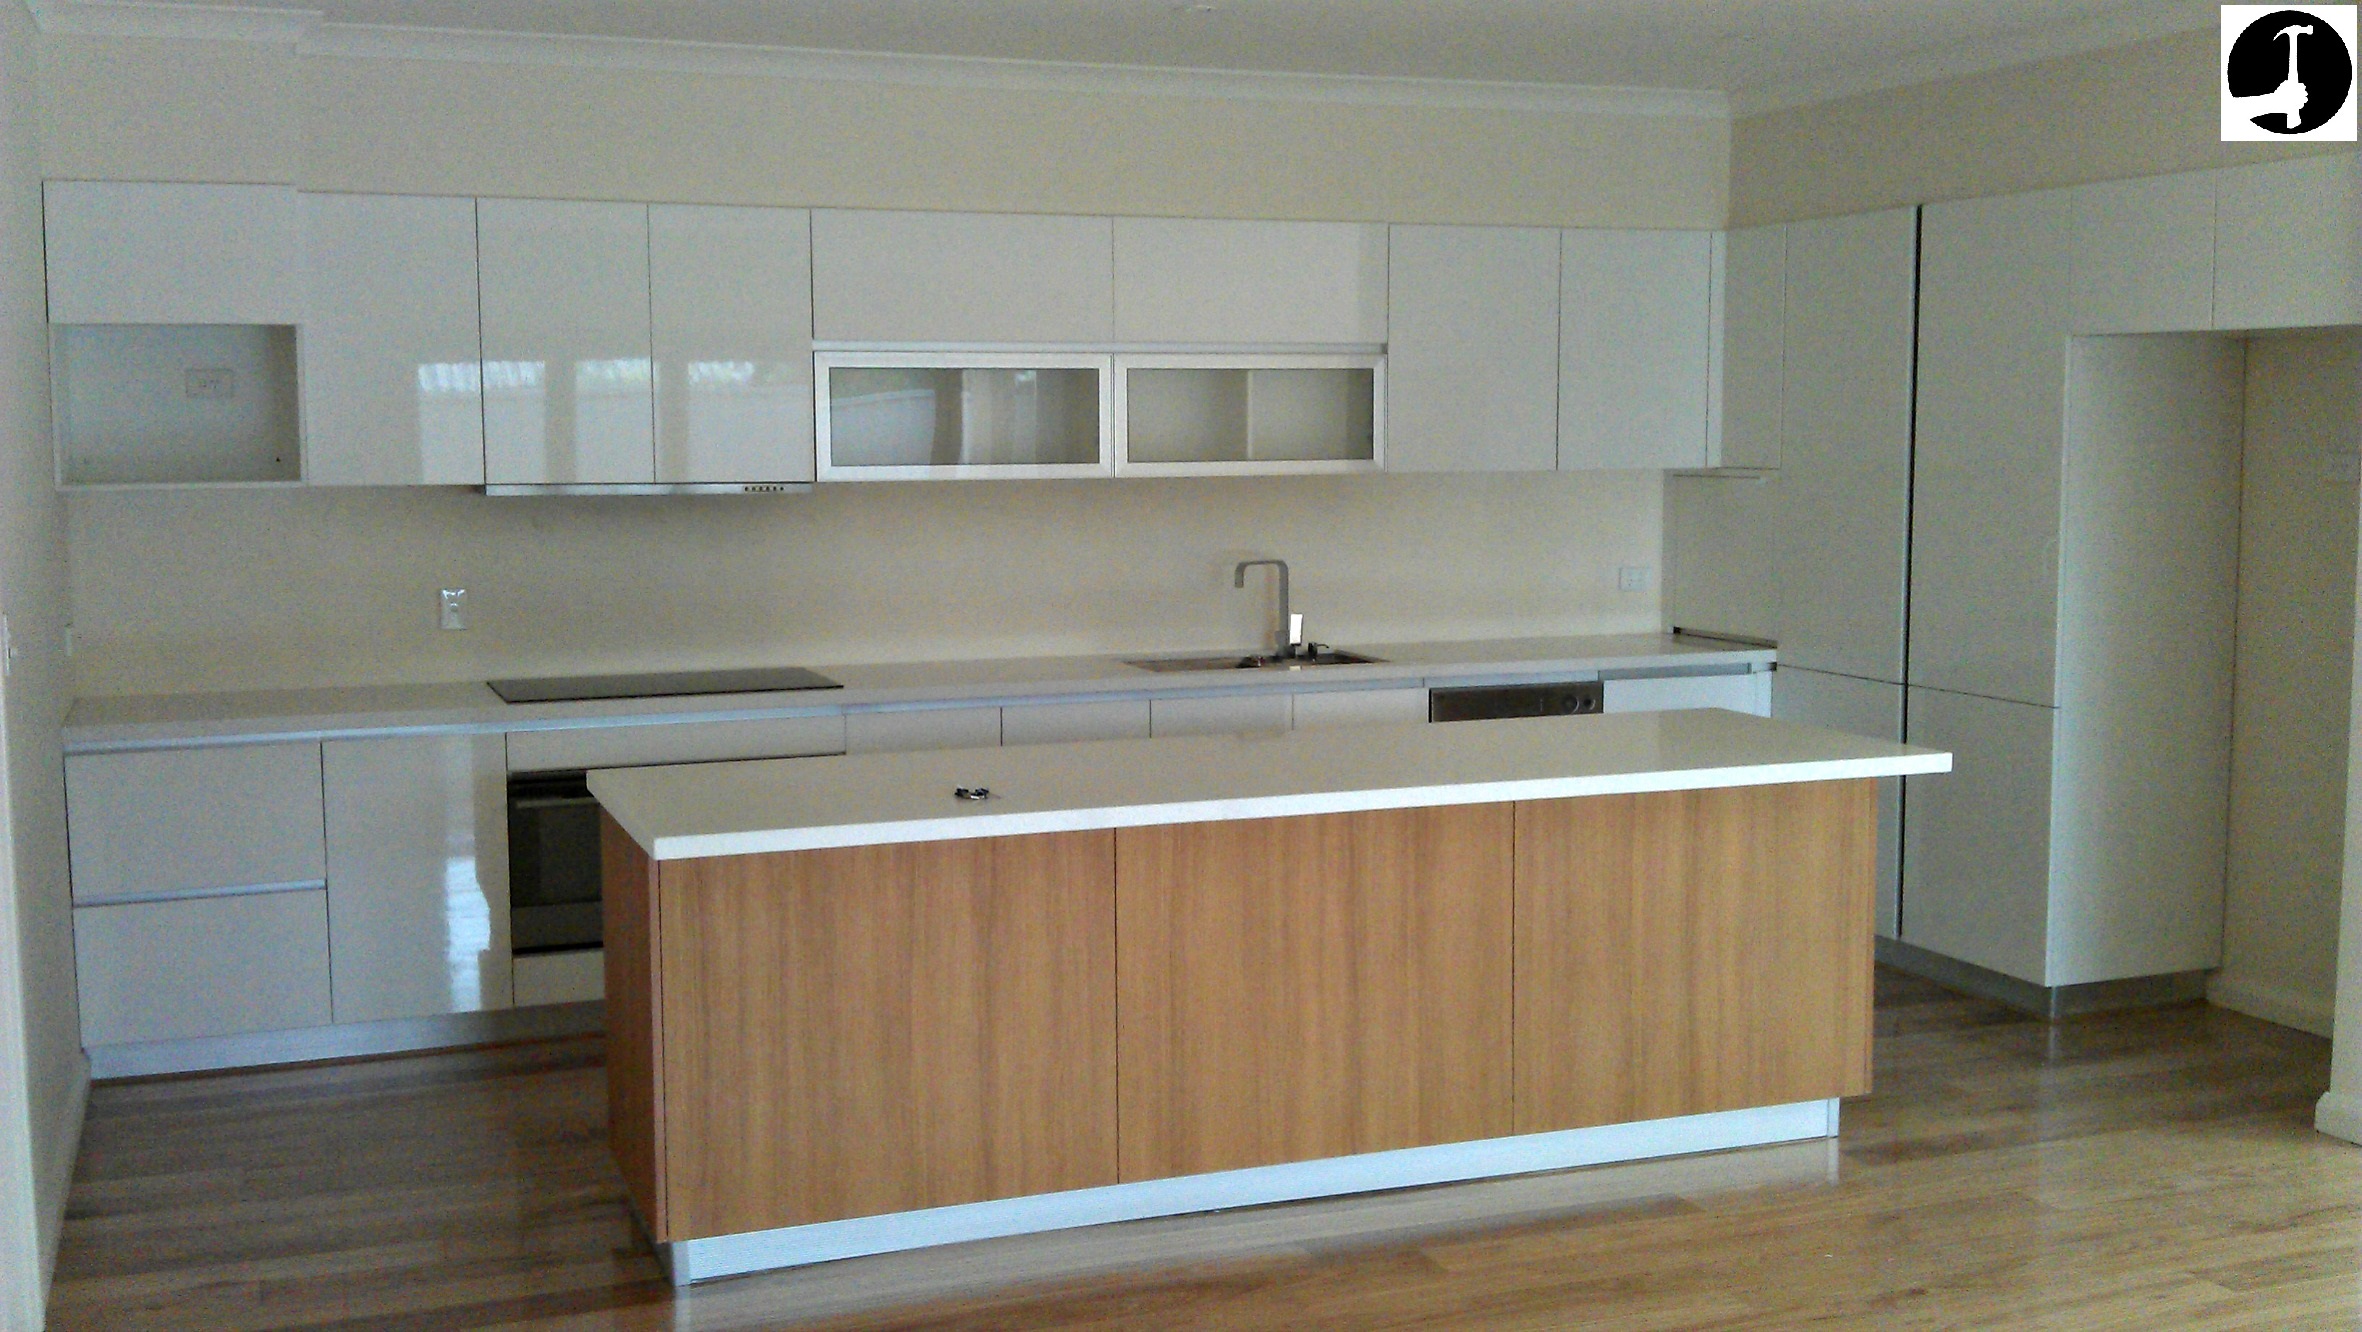
A carpentry & joinery apprenticeship includes learning how to install a kitchen. From fitting the base and wall units, to boxing in unsightly pipes at the end.
Fitting a kitchen can be tricky, there are lots of things to know and it's really easy to make a mistake (that's hard to get over).
Follow the tips on these pages for a perfect kitchen installation.
How to design a kitchen
The kitchen is arguably the most important room in the house, and the most expensive! When designing a kitchen, it's recommended that if possible a triangle shape is formed between the cooker, sink, and the fridge. Also, unless facing into the house most people prefer the sink to be facing out of the window.
There are loads of modern gadgets and gizmos available these days that can be incorporated into a new kitchen and built in appliances always enhance the appearance too.
Types of kitchen layout
The room the kitchen is being installed in may already determine the type of kitchen layout you can have. If there's more space available then there are some examples of the most common types of kitchen layouts below;
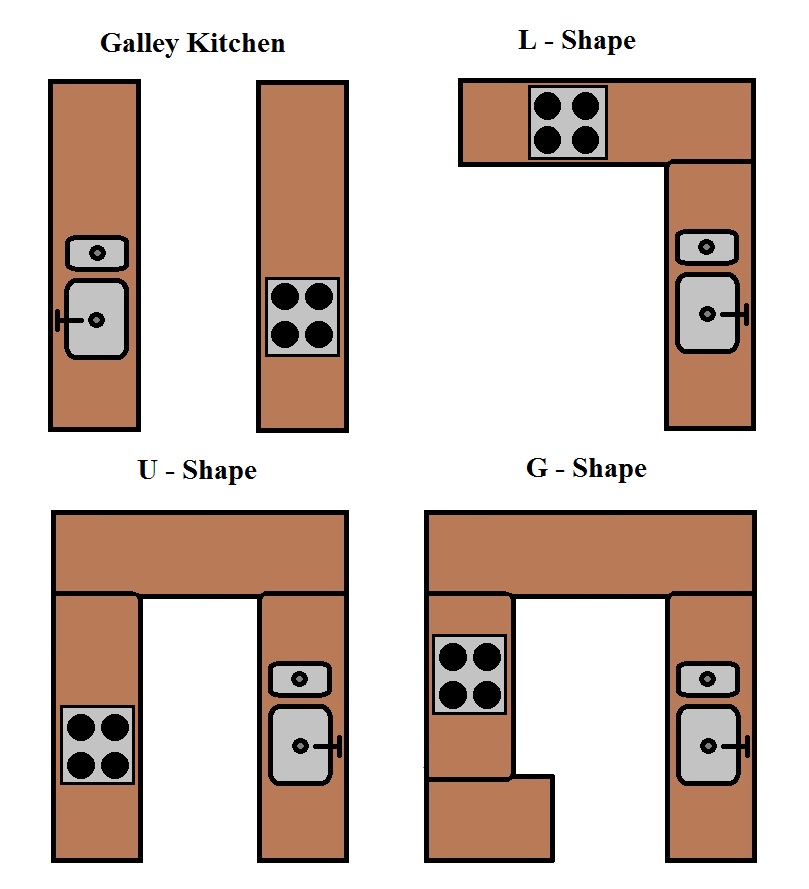
How to install a kitchen
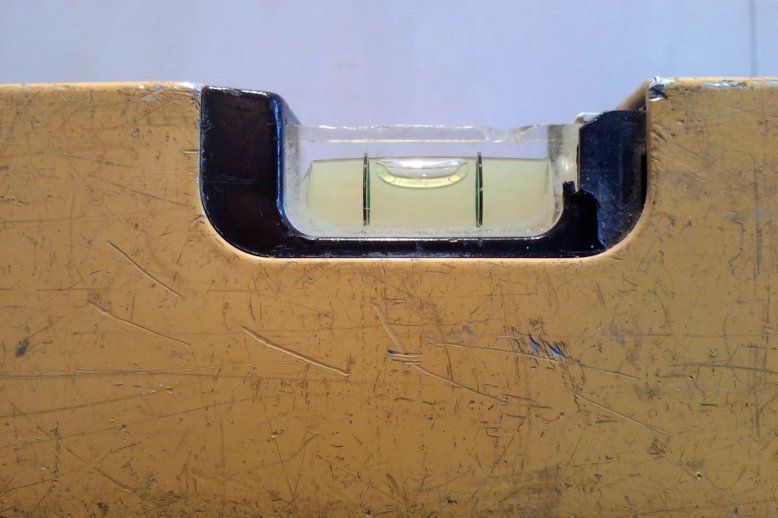
Below is the most important thing when kitchen fitting. The bubble needs to be exactly in the middle of those two lines - everything must be perfectly plumb and level. If not, cabinet doors will be impossible to line up, tiles may not line up right and you'll be in for all sorts of trouble.
Often with off the shelf kitchens the flat pack or pre-built kitchen cabinets come in incremental size widths (most commonly 300, 400, 450, 500, 600 & 900mm) and these will rarely fit perfectly between the walls in a house. In these instances the leftover space depending on the size can be either blocked off with an infill or if large enough utilised into a tray space (bit dated), towel hanging or a wine rack/shelves for example.
At some point unless the client is having granite counter tops you will need to cut and fit the formica worktops as well. This is done using a router and special jig, and will include cutting out holes for the hob and sink / drainer. The kitchen counters are glued and then clamped up together from underneath using special bolts.
Kitchen cabinet end panels
The design of your kitchen may include end panels that are fixed to the sides of the cabinet. Generally these are flush with the front of the doors edge, the same height as the cabinet and can go all the way down to the floor. They are a great way to finish the row of units if there is no wall and also help to define a space for a dishwasher or washing machine by having one either side. On top of that, they also provide a neat way to finish your plinths as these can butt into the end panels rather than returning down the side of your cabinets.
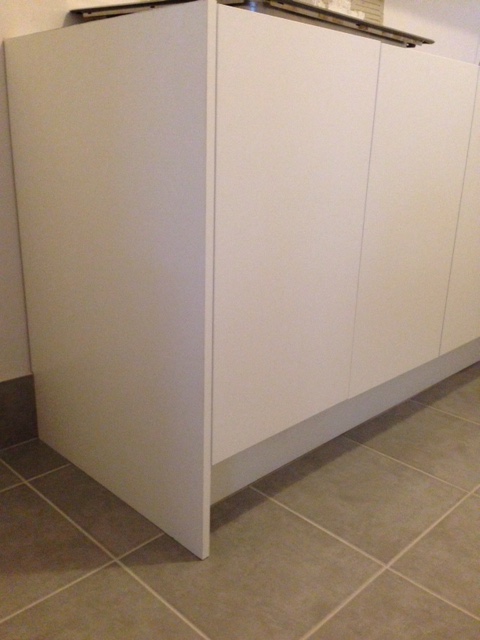
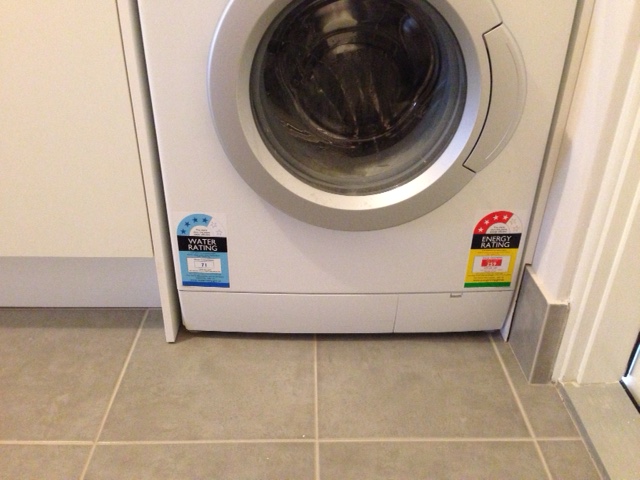
If you are installing end panels to your kitchen cabinets don't forget to add the thickness when setting out your cabinets on the wall and also make sure they are installed before you cut your worktops!
How to install a kitchen - Where to start
The first thing I do after having familiarised myself with the drawing is find the lowest part of the room. Using a 1800mm spirit level I check how flat the floor is. All the units must be perfectly level with each other so the counters sit flat and the worktop joins butt each other perfectly. One thing you don't want to do is fit your floor units starting from the highest part because when the floor runs down out of level the plinths won't be tall enough. Check out the first page, how to install a kitchen wall and floor cabinet.