How to build shelves around the home
Fitting Floating, Slatted, Book, Cupboard and Decorative Wall Shelves to put stuff on
Tips and ideas on this page for how to build shelves:
Putting up shelves, possibly the most common DIY task and cause of domestic arguments all over the world!
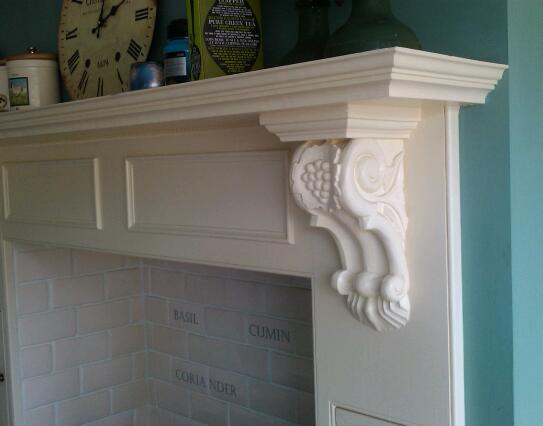 |
There are loads of different types of and ways of making good looking and practical shelves around the home. From decorative wall shelves like in my kitchen above, modern 'floating' shelves for DVDs in your living room, book shelves in the study or garage storage shelves for 'men's stuff' all the information you need to build them is here.
I'll explain how to build shelves with corbels, battens, bookcase strips or several different types of brackets as well. Shelves that could be used for books, DVDs, ornaments, and even how to make slatted shelves in an airing cupboard.
When I made my kitchen, I used two handmade Corbels to hold a shelf up over the cooker as you can see in the picture above. I bought the pair from EBay for £18+p&p!! Such a bargain, I bought two more to use as a fireplace mantel shelf in my living room as well, but ended up using them somewhere else in the end. The shelf itself is two pieces of softwood I bought from a local builders merchants. I used a router to put a different moulding on each one then glued and screwed (down from the top) them together. After that I simply glued and screwed them down onto the corbels. Simple, but effective.
Study Book Shelves
How to Build Shelves in a Cupboard or Alcove
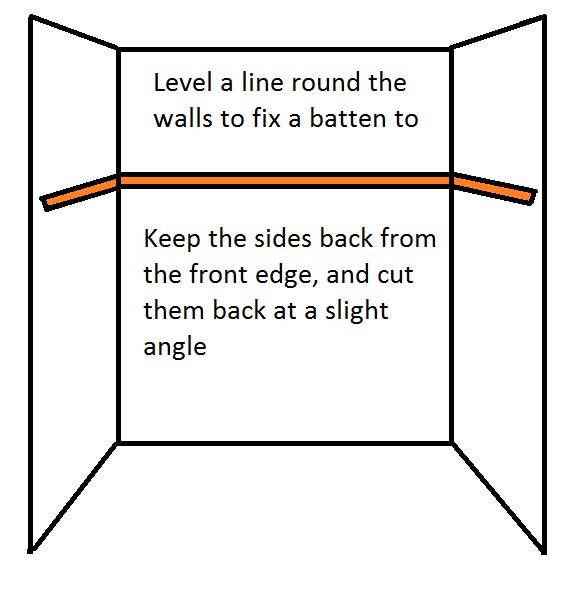
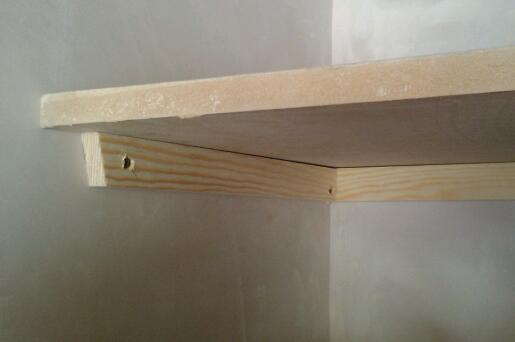
If you want to know how to build shelves in between two reveals, in an alcove or in a wardrobe/cupboard for example then a 25mm MDF shelf resting on battens could be the best and easiest option to go for. Really simple to install, the first thing to do is determine what height you'd like the shelf at. If it is to support a hanging rail underneath I normally fix battens 1.2m high for shirts and trousers or 1800mm for full height hanging.
Once decided mark a pencil line in each corner at the back of the cupboard/alcove and take a measurement in between. Put the batten up to the lines and mark a faint line along the top and bottom. I do this when I'm fixing into stud work so I can bang a bradawl in and find the location of the studs, in a place where I know the batten will later cover. Transfer the location of the studs onto the batten then drill and countersink. Of course, if you own a stud-finder you don't need to go to quite as much trouble!
Make sure you check there are no sockets or switches directly above or below before you drill holes, or wind a screw in to the wall!
I use 70mm nails to fix 50x25mm battens through plasterboard into stud work. Fix one corner first, then put a spirit level on the batten and adjust the other side before fixing all the way along. For extra support when putting up long shelves or those that are going to take a lot of weight apply a bead of Gripfill or no more nails along the back first.
Determine how deep you want the shelf. I often build stud work wardrobes 500 or 600mm deep, and make the shelf either 400 or 500mm. Keeping a high shelf back a little means you can still get access over the top easily. Measure from the back wall forward and mark the depth of your shelf. Then measure from the batten to the depth of the shelf.
There are two options for the side battens, you can either cut them long enough that they pick up the next stud or keep them back an inch from the front edge of the shelf and cut them on a slight angle like I've done in the picture. The only problem you face when keeping them back is you may not finish on a stud, and will have to use Redi-drivers or another type of plasterboard/cavity fixing. If this is the case, apply a bead of no more nails or Gripfill to the back as well. Once established hold the batten in place and use a spirit level again, then mark above and below in order to know where it is safe to pierce the wall and find the studs. Fix both the battens in place and level then cut the shelf to length. Always use a mask when cutting timber, but this is especially important with MDF as the dust is particularly harmful.
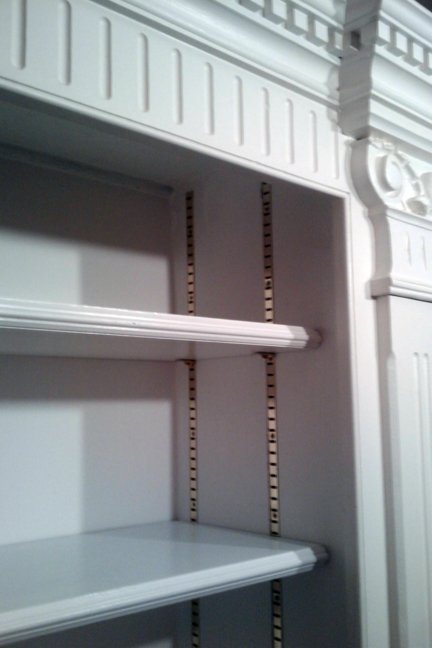
Add a finishing touch to the edge of the shelf by using a router and cutter like in my kitchen shelf above, or by gluing and nailing a decorative bead onto the front like in my study shelves below.
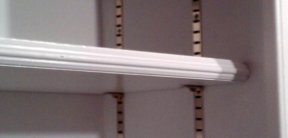
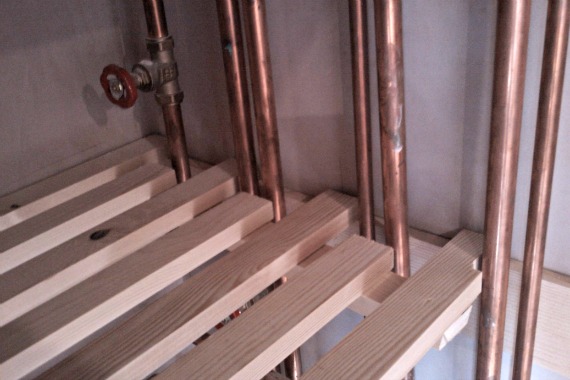
Slatted shelves
Slatted shelves can get awkward when there are pipes and cables in the way, like with most airing cupboards.
Click here to find out how to build slatted shelves like in the picture above