How to hang a door on your own so it fits like a glove, closes flush against the stops and swings the right way. Step by step instructions from start to finish
How to hang a door perfectly was one of the first things I learned to do when I started my carpentry apprenticeship. The first door I hung took me all day to finish! Better to get it right even if slow, you can build up speed as you gain experience hanging doors.
It is fairly simple to do, as long as you understand the possible problems you can come up against. Keep reading to see the steps I go through and in the specific order to get my doors hanging perfectly every time.
These instructions work for you whether you are trying to hang a door internally, externally, by yourself, in a new frame or in an old door frame as well - the theory is largely the same.
What tools are needed to hang a door?
The tools I use for swinging doors are;
- A sharp HB pencil
- a tape measure,
- a combination square
- hammer (or mallet is better if you don't have shatter proof handles on your chisels),
- some chisels (I use sharp Marples chisels 18mm / 3/4” or 25mm / 1” and 10mm / 3/8” )
- power plane and smoothing plane,
- a marking gauge (I use a hardwood Marples one)
- a decent cordless drill,
- some wood drill (Twist) bits, screwdriver bits
- and finally to hold the door in position while I work on it a home made saddle and block
How do you know which way around to hang a door, and which way up?
Sounds like a stupid question but I have seen doors hung upside down on many occassions..
In terms of which way up you should hang your door (sometimes it isn't actually obvious, especially if you are blind), a four or six panelled door generally has a taller horizontal stile across the bottom of the door than at the top. Some old fashion doors have three tall slim panels at the bottom, and one large square panel at the top.
Hollow core doors have a 'lock block' inside that is a solid piece of timber to secure your latch/lock handles to. It is usually marked on the top of the door, you can also double check by tapping the door with a knuckle - it will sound hollow on the wrong hinge side and solid on the lock side. It is important with a flat hollow core door to make sure the lock block will be in the right place before hanging it.
In terms of which direction to hang a door, quite often the door can only really open one way and so the decision is easy. If not (and it's not on a drawing), before you can hang the door you need to determine which way the door will swing. Normally this is into the room (if from a hallway). The position of the light switch may help - really you want to avoid hanging an internal door so the switch is behind it when opened!
If you are still struggling use google images to find the type of door so you can see which way up it should go..
Lets get started:
Here's how to hang a door - step by step. The right way
- Step 1: Prepare the door lining or door frame
First, prepare the door lining or frame. Hopefully the door lining was installed properly (tips on this page for fitting door frames correctly here) and it is square, level and 'in wind'. If the walls are freshly plastered, I use an old blunt chisel to scrape any large lumps of plaster off the door lining and if needed an orbital sander to clean it up further.
Old door frames may need the old door stops removed and the frame sanding back a bit while they are off just to clean them up and make the decorators job a bit easier. It also allows you to put them back where they should be for your new door (or fit nice new ones).
If it is an exterior door frame it will most likely already be rebated, you may just need to rebate the bottom of the door over the weather strip. More about dealing with that on this page where I'm hanging an exterior stable door.
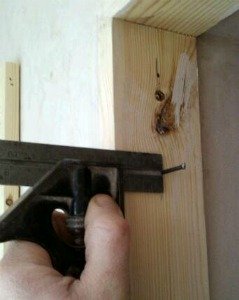
If the frame doesn't have door stops already built into it then set your combination square to the thickness of the doors edge (often 35 or 44mm thick) and then use it to mark a line in from the face of the lining at each corner like the picture below. Do this about three inches down from the top, and the same up from the floor - out of the way of the hinges.
Bang a nail half way in at each line that will keep the door flush with the frame and stop it falling through during marking out. I use 45mm ovals or 75mm 'Lost-heads' for lightweight/ply flush doors.
|
If you are hanging an oak door for example or one that you don’t want to risk denting, nail an off-cut of doorstop or other timber temporarily (don't bang the nail in all the way) to the line instead as this is less likely to mark the face of the door.
Put the door in the lining with the lock block in the side where the handle will be fitted. If the door needs to be fitted to the frame do so by planing with an electric or hand plane depending on how much needs to be taken off. Raise the door up in the opening using a wooden wedge until only a 2/3mm gap is left at the top. You can cut a spacer or use cardboard in between to ensure consistency when hanging more than one door. If the carpet or flooring isn't already down, check there is a large enough gap underneath to allow for the floor covering and if there isn’t mark what you need to cut off now too. I usually allow about 18-20mm for carpet and underlay.
|
 |
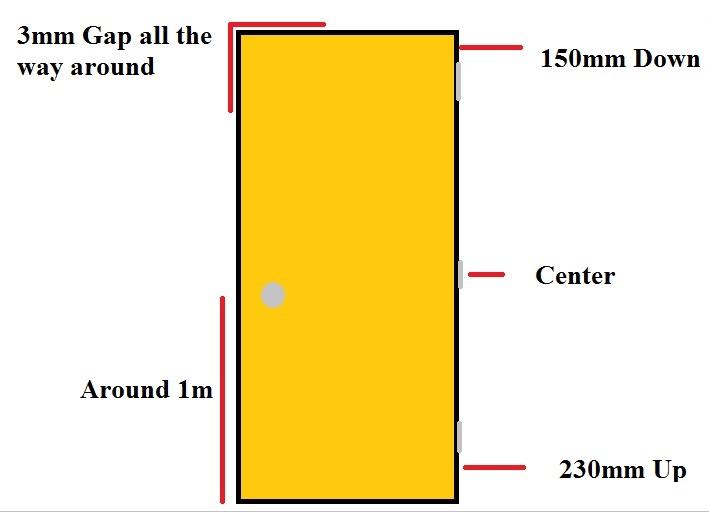
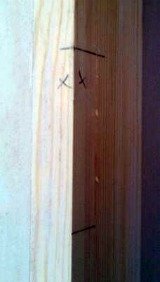
Unless I am hanging doors to match existing ones or the schedule says otherwise, I mark a clear line with a sharp pencil on both the lining and the door - 150mm down from the top (this is the top of the top hinge) and 230mm up from the bottom (this is the bottom of the lowest hinge). I always put an x on the side of the line where I want the hinge to be on both the frame and door so I don’t chop the hinge in the wrong side of the line (Again!). When hanging heavy exterior doors, fire check doors, hardwood doors or doors in a bathroom/airing cupboard for example, you should mark a line and position for a third hinge in the center of the door and frame as well.
 |
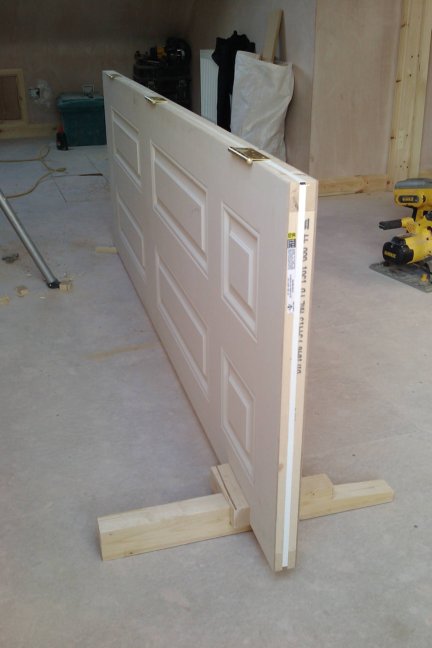 |
Once all the hinge positions are marked, remove the door from the lining, place it in the saddle and wedge it, hinge side up. Square all the pencil lines across with the combination square. I mark sharp clear but faint lines that are easy to sand off later, and only mark where needed - don't put a huge line across the whole width of the door! Someone's got to sand that off later.. probably you.
Place the hinge so as to mark the length of it on the doors edge. Slide the hinge up to the line until it covers the ‘x’ and mark the other end (height) of the hinge. Set the marking gauge up as shown in the pictures below and scribe the width of the hinge into the door edge, always working from the face edge of the door and frame. This method (not a Stanley knife) ensures the door will always close flush to the frame on the hinge side.
Repeat for all the hinge positions and then set up another gauge if you have one to the thickness of the hinge (I always use two marking gauges to save set up time when hanging lots of doors). Scribe this into the side of the door and lining too.
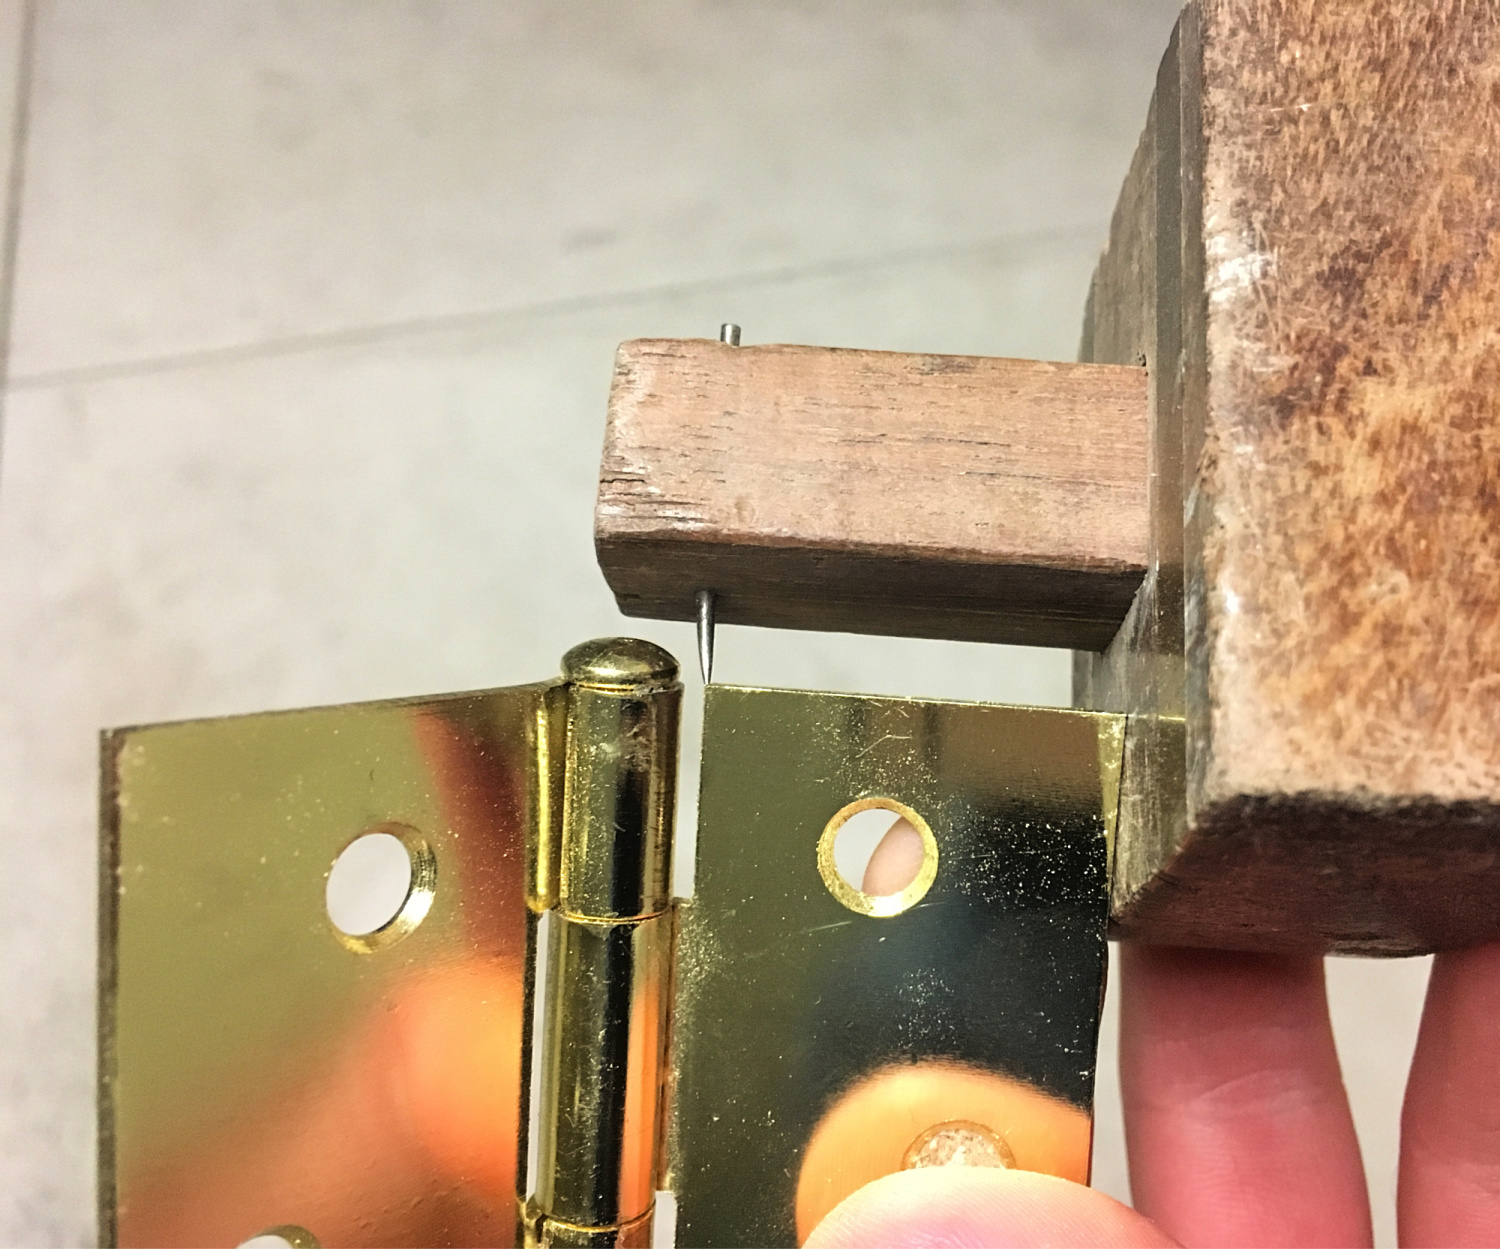
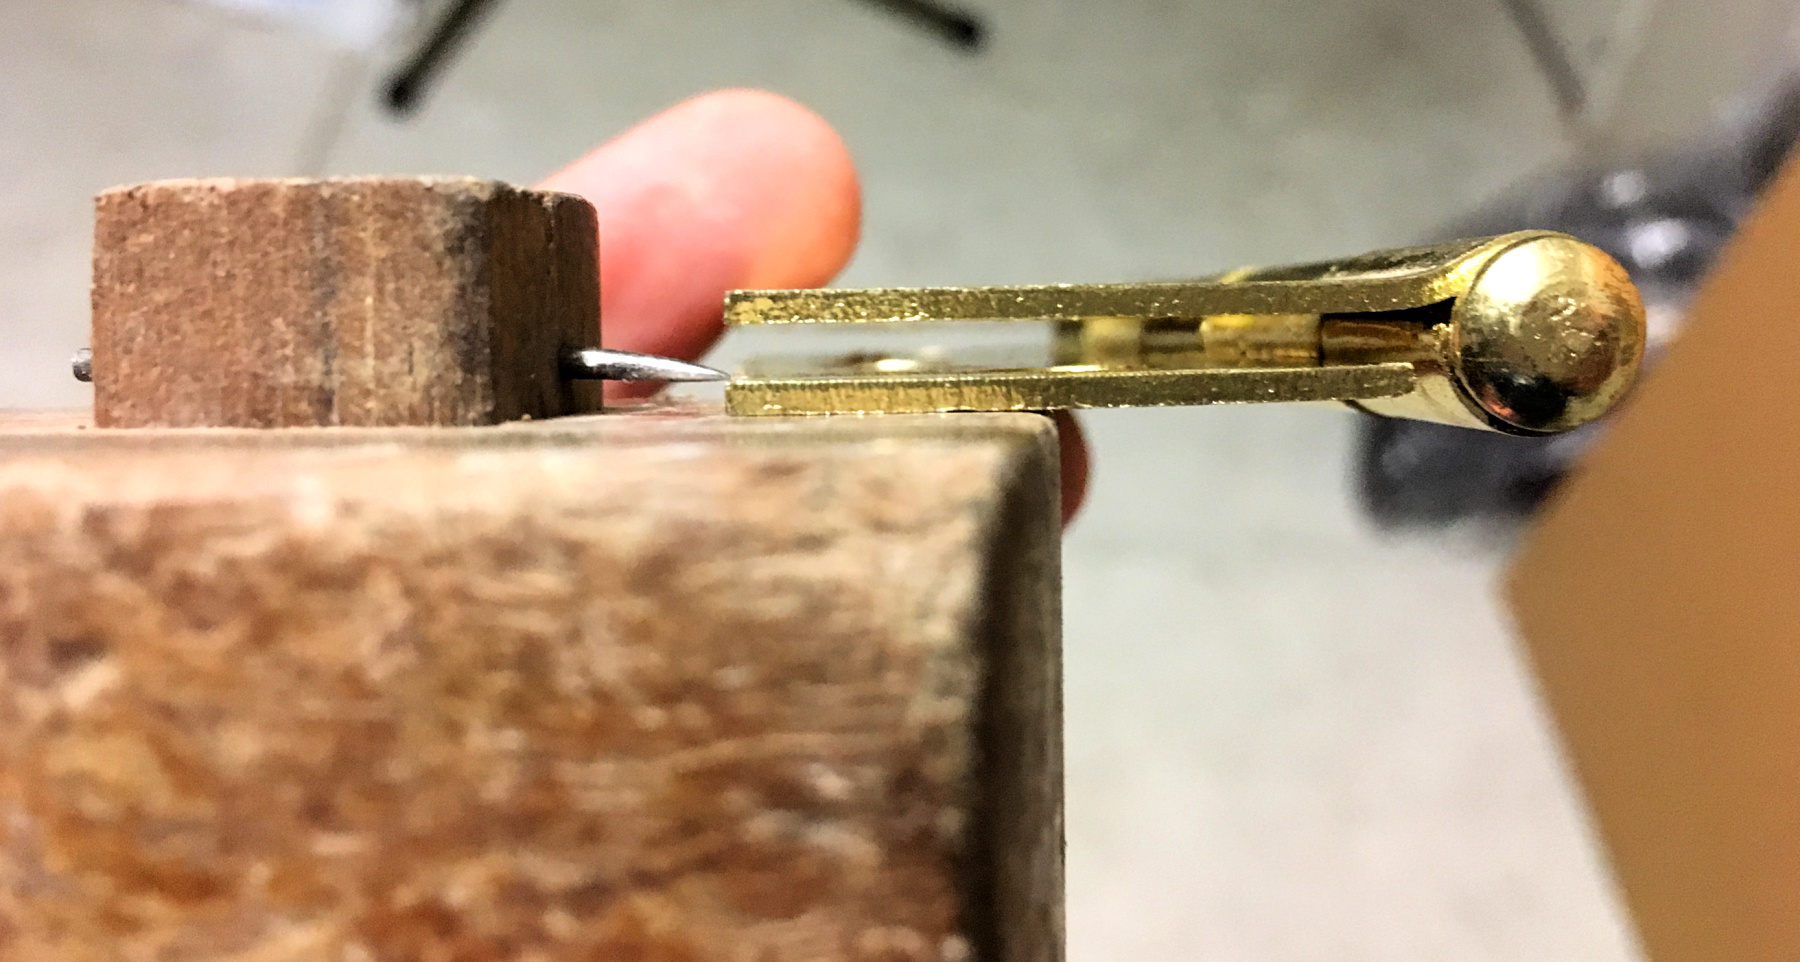 You can see above that if you close the hinge so each leaf is parallel, then set the gauge to the same thickness as the hinge the gap between the door and frame is set as per the gap in the picture. If you want the gap tighter, set the gauge a little deeper than that and vice versa. Too deep and the hinge side will 'bind', meaning the door will try and bounce open when you close it! |
 |
When I first learned how to hang a door I used to carefully screw the hinge to the door/frame in the exact position and mark all the way round it with a sharp Stanley knife. I use squares and gauges now though because it's much more accurate and consistent, I know the hinge will be perfectly parallel to the door edge and positioned identically in the lining as well.
- Step 4: Chop the hinges out
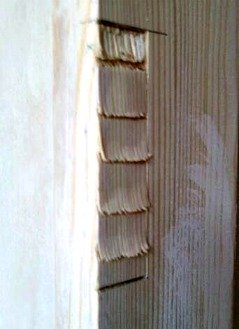
Always start by chopping the top and bottom of the hinge horizontally first with a sharp chisel (preferably one that does it in one hit). Then chop in at about 10mm intervals to the depth set by the gauge at a 45 degree angle, as shown in the picture below left. Carefully pare away the waste, keeping inside the lines. This will be very easy with a sharp chisel.Sand any remaining pencil lines out, drill correct pilot holes if you need to and once all hinges are recessed screw the ‘leaf ’ side of the hinges to the door (leaf side is that in the picture above, that the marking gauge is set to) with your battery drill. Make sure the screws finish flush. If you have flat head screws, I finish the screws so the recess for the screwdriver is at a slight angle and all the screws align (OCD).
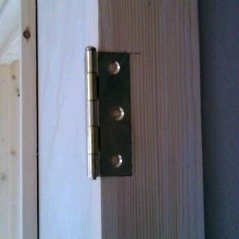
If you are fitting ‘loose pin’ hinges, you may need to take the pin out and slide it back in the other end so it doesn’t fall out after you hang the door (below right).
 |
 |
- Step 5: Trim the bottom
Use an electric plane or a circular saw if a lot needs to be removed. If you do use a circular saw, score the door with a straight edge and sharp Stanley knife before you cut the bottom off to prevent tear out. Also, leave the line in a little so you can clean it up with the plane after. Sand any remaining pencil lines off.
- Step 6: Applying a leading edge
Sometimes it's necessary to apply a leading edge to the door so it doesn't hit the frame. Click here for help applying a leading edge to the door that helps stop it from binding.
- Step 7: Screw the door to the lining
Lift the internal door out of the clamp, offer it up to the frame at a slight angle and screw the top hinge to the lining first. Don't fill the hinge up with all the screws yet in case it needs adjusting, unless you are hanging a heavy fire check door. You can use a Board & Door Lifter to make this easier. Once there is a screw in the top of the door, it is easier to pivot the door up straight and screw the middle hinge in, then the last one at the bottom.
If it fits OK, put the rest of the screws in the hinges.
Now you know how to hang a door, what comes next?
Sometimes the door doesn't always fit perfectly straight away. Click here if the door needs adjusting in some way.
Once it is hung perfectly click here for help fitting the tubular Mortice latch, handles and doorstops to it.
Use the comments box below if you have any questions or tips of your own to add about hanging doors