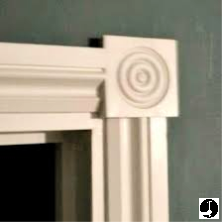
Fitting Architrave Corner Blocks instead of mitres can look great to frame your doorways
|
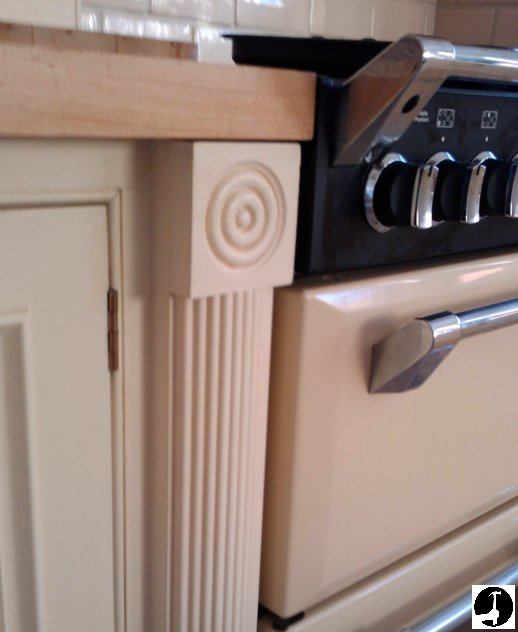
Installing architrave corner blocks or rosettes is a great alternative to mitering the corner joints, or if you simply want something different to everyone else. These pictures are what I did when installing my kitchen architraves, using the same corner blocks I'd used next to my cooker (in the picture at the bottom of this page). Because you don't have to miter the corners, they're quick and easy to install without any expensive miter saws. You should buy some that are either the same size as or up to 5mm wider than your door casing/architrave timber. |
 |
How to install architrave corner blocks
These steps are followed on from the architrave page after the margins have been marked onto the lining;
- Step 1: Set out the margins and position of the architraves onto the wall
Hold a length of casing on to the leg of the lining up to the margin and mark a pencil line on both sides, repeat with the head. This will leave a set of lines in the corner the same as when you play noughts and crosses!
- Step 2: Set out and centralise the position of the corner blocks
Center the corner block over the lines and draw round it.
- Step 3: Cut the architraves to length
Cut architraves up to the pencil lines drawn around the block and glue/nail the lot in place! (The easiest way to nail them is fix the bottom halves of the legs in place first then you can rest the blocks on top while you adjust the head left or right to center it all).
- Step 4: Glue & pin everything in place
I put Gripfill on the back where the corner blocks will meet the wall and PVA wood adhesive where the architrave butt into the corner blocks and also onto the architrave to stick it to the door jambs.
Everything is nailed using my Dewalt second fix nailgun, if you don't have one use 40mm oval head nails and punch them under the surface afterwards.
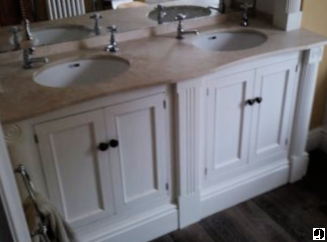
Architrave corner blocks are not just limited to the corners of architraves either. When I built my kitchen, study and vanity units (below) I used them as a feature. You can use them for loads of other things too like fireplace surrounds or even as part of the brackets holding up shelves for example.
 |
 |
Once the corner blocks are fitted, what's next?
Once you have fitted these you can install the skirting boards
Or click here to go back to the main architrave page
Have a comment or question about architrave corner blocks?