Half Newel Post Installation
How to use & fix half a newel post to the wall for awesome Handrails & Balustrades on your stairs or decking
|
Find out here:
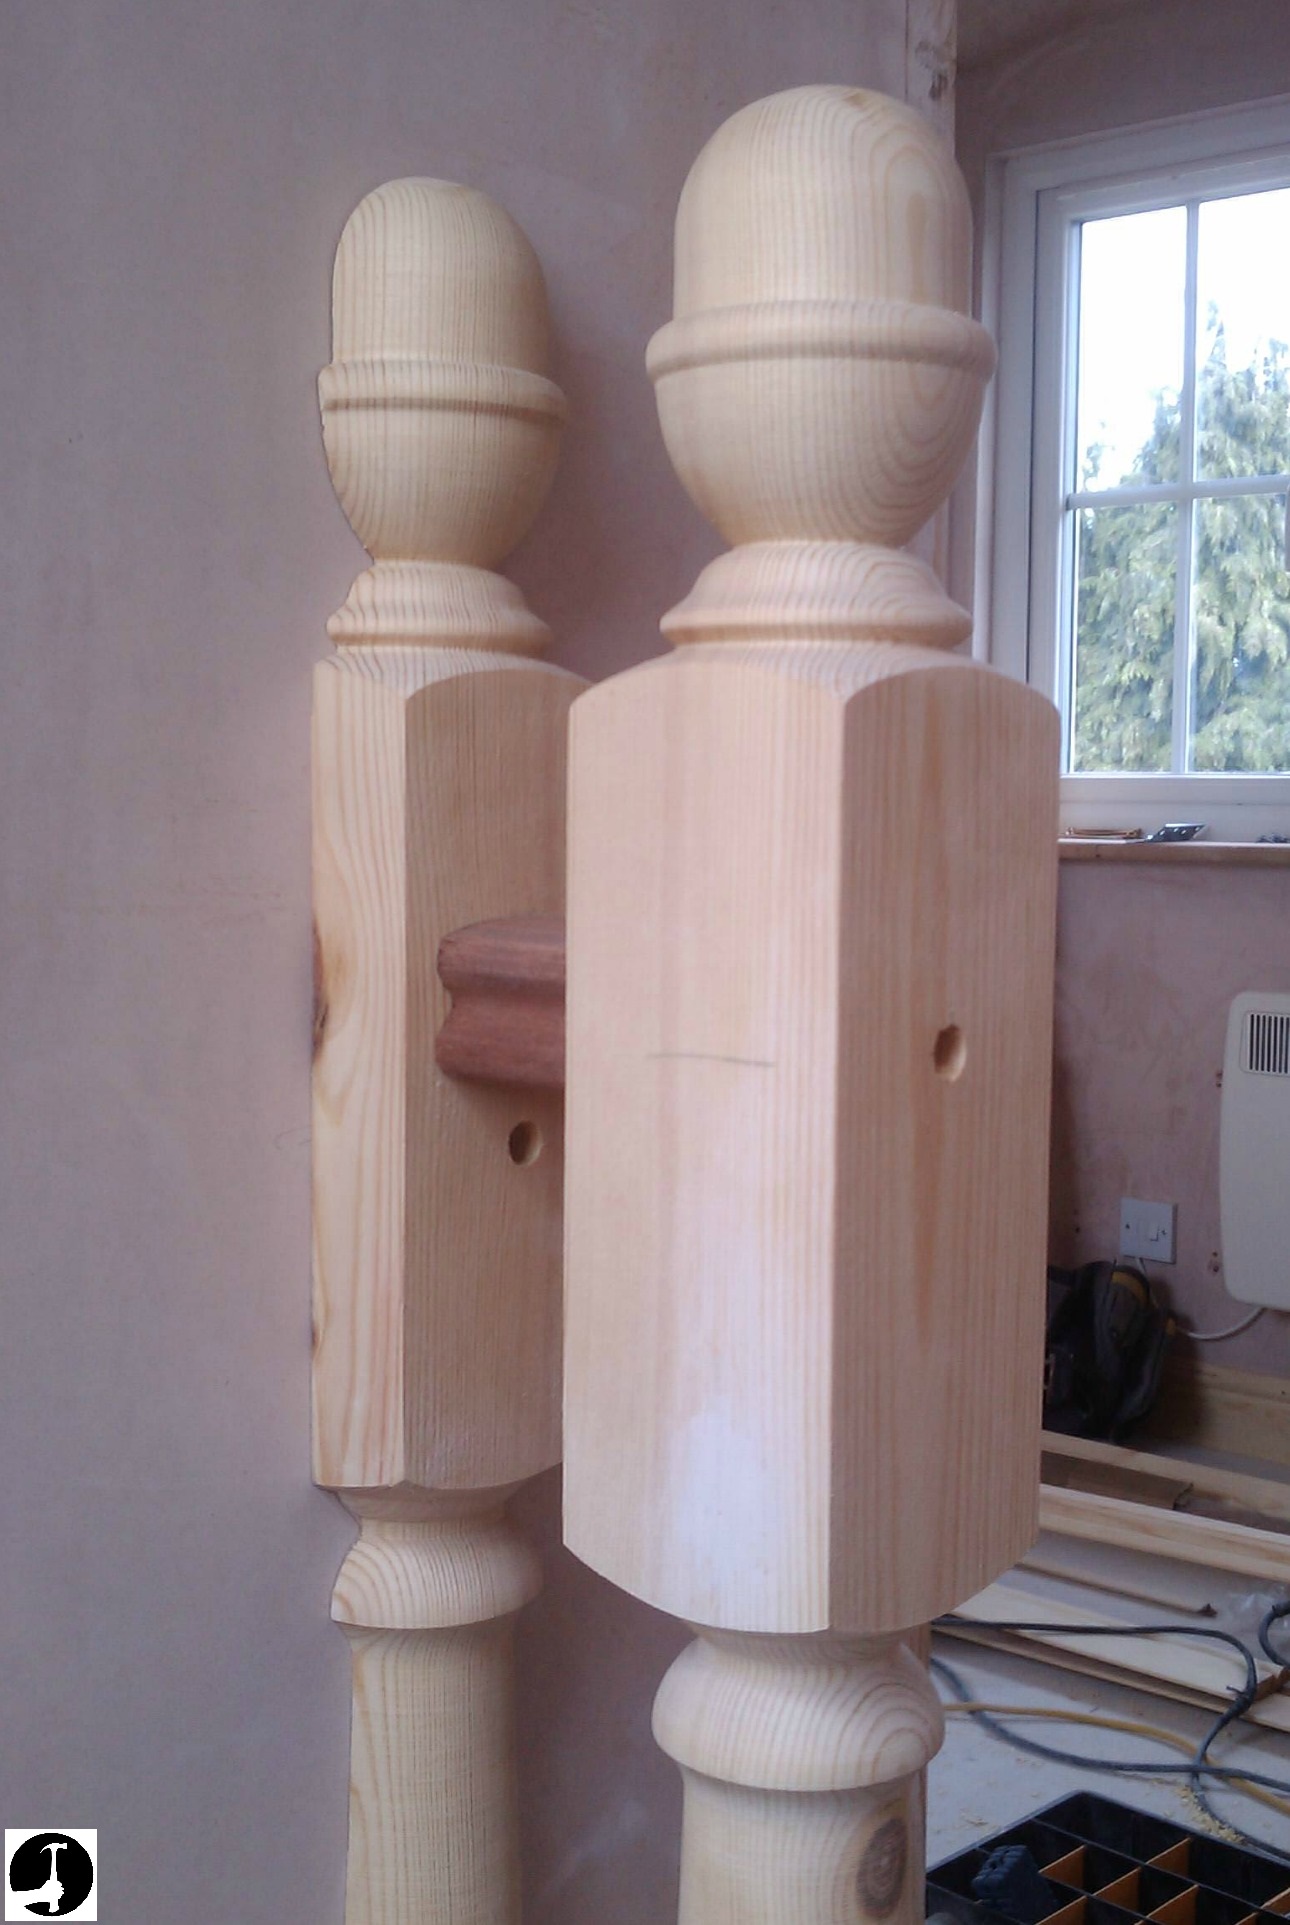
In America quite often a rosette is fixed to the wall to finish/fix the handrail to. I prefer to rip cut a newel post down on the bench saw and fix that to the wall instead. I think it gives the balustrade a much better starting point and looks really neat once decorated. If the gap is too small for a half post I rip a spindle down and use that instead which also looks really tidy - I think better than a rosette. To cut a turned one in half, all you need to do is temporarily pin a straight piece of timber to the side of it flush with the top. Then use that as the guide for your saws fence. |
 |
Make sure to fit stair components well with heaps of glue
It's really important to get a solid fixing when attaching a half newel post to the wall.
People swing on and grab stair parts to pull themselves up the stairs and if it is not fixed well enough it will just come away, if not now after a few years of wear and tear.
I've worked in lots of houses where there's a gap between the post and the wall because someone has rushed it or just stuck it on with no more nails - it doesn't hold well enough to stand the test of time.
If the wall is masonry it's easy to just drill, plug and screw the post on with some large (100mm) screws. If it's a plasterboard wall you are fixing to and there isn't a solid stud right where you need it then there's a little more work to do - but it doesn't take long.
How to fit a half newel to the wall
This area at the top of the new stairs has a gap of more than 100mm so it needs filling up not just to look better but to satisfy the building inspector.
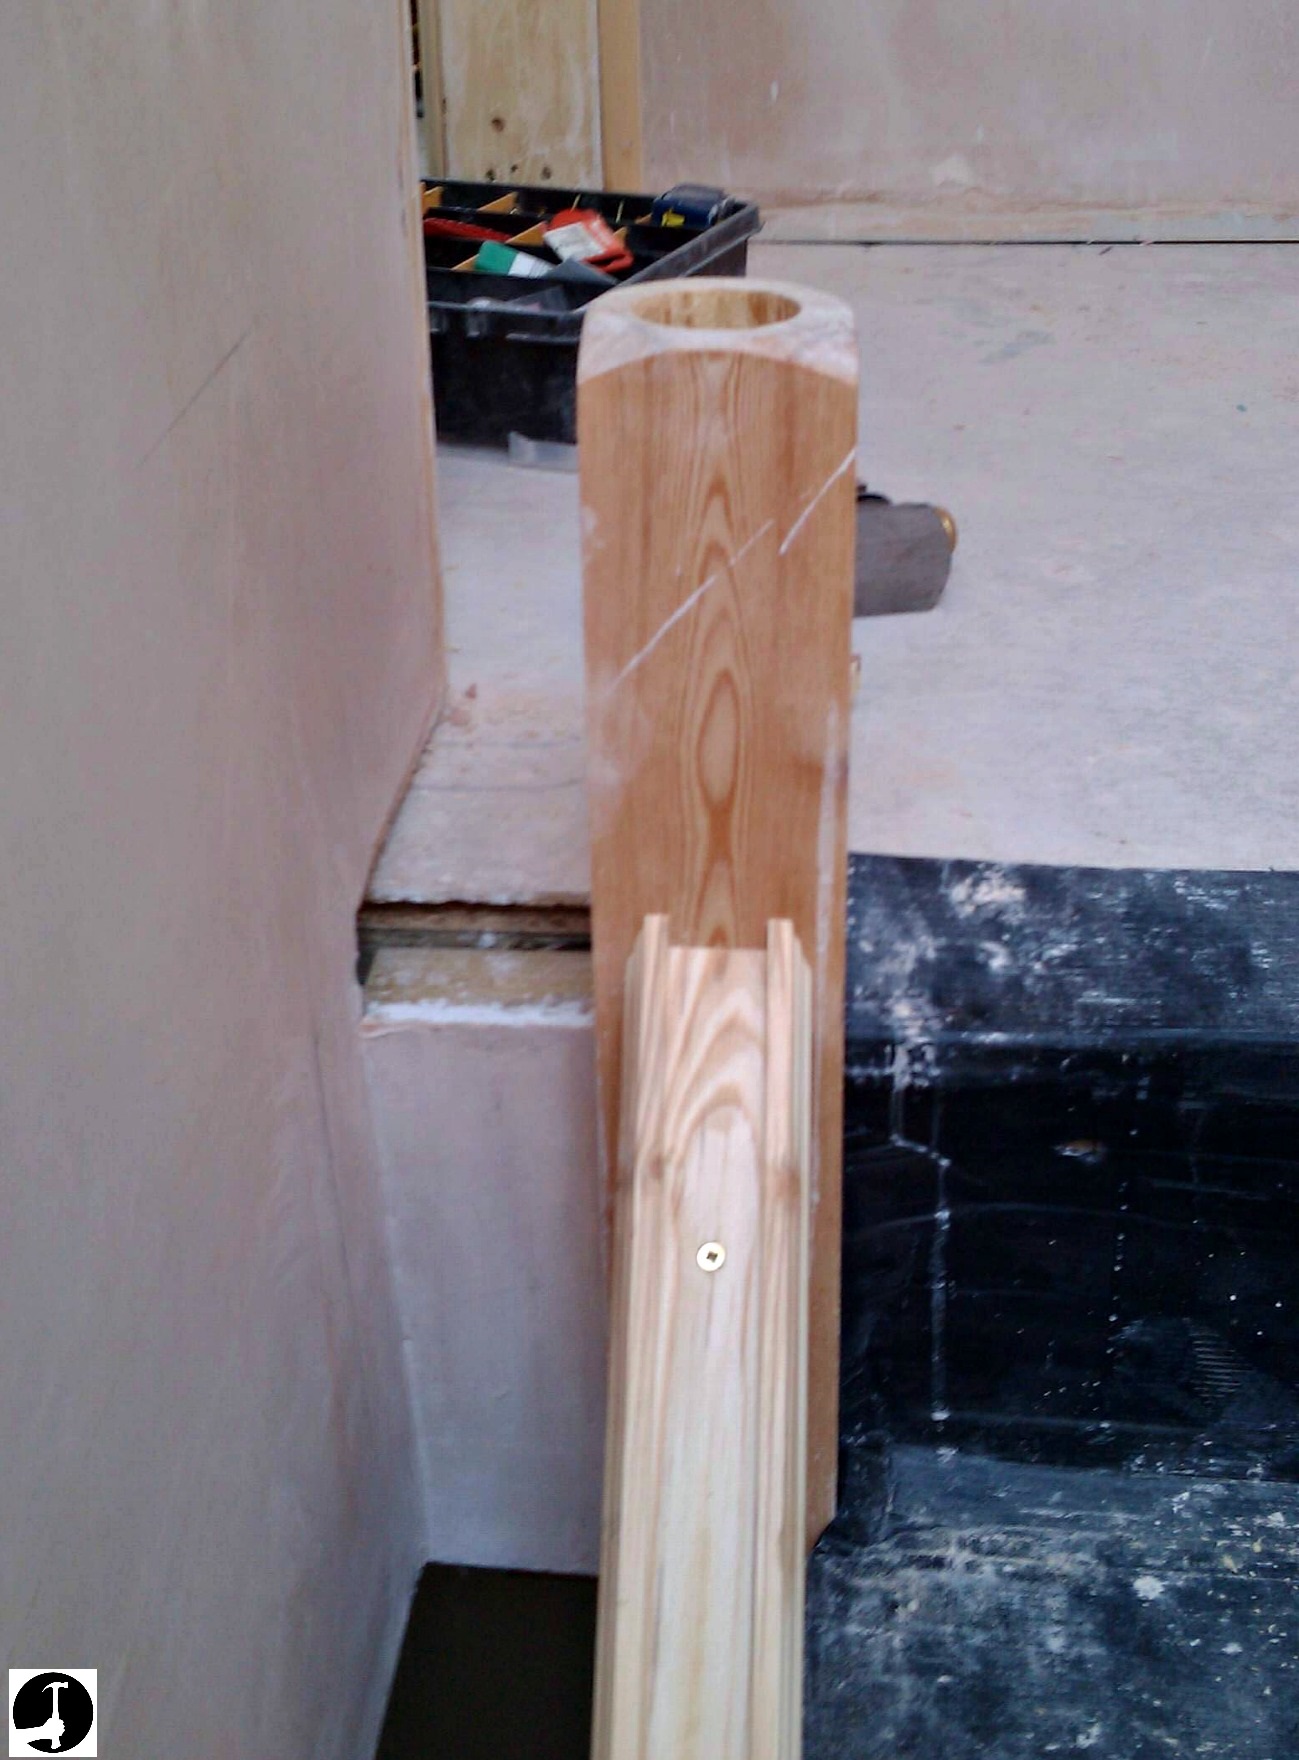
Some newel posts are in one piece. In this instance I'm fitting a separate post and base, starting with the base.
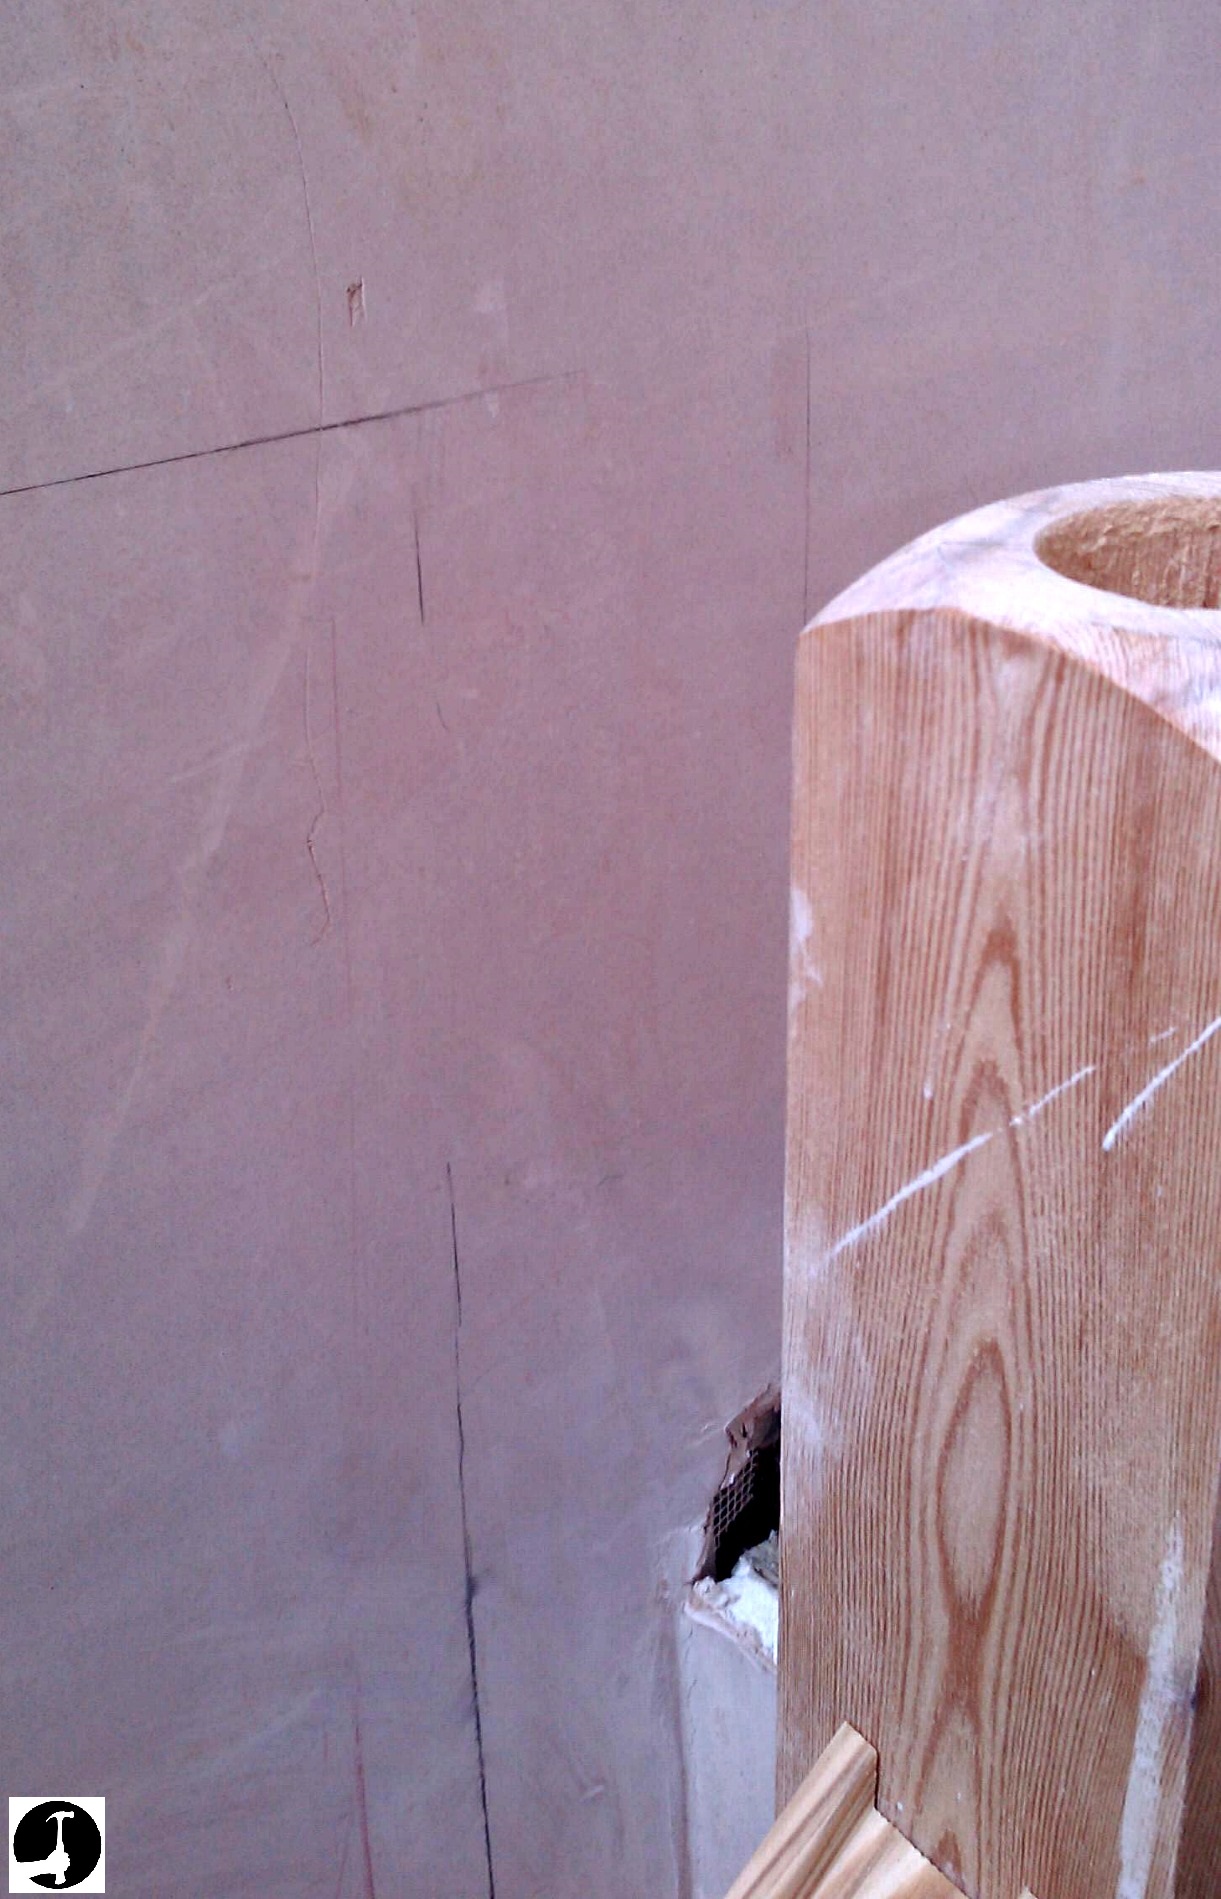
All I've done to start is transfer the position of the post at the top of the stairs onto the wall so I can set out the base and cut it round the plasterboard covering the stair trimmer.
 |
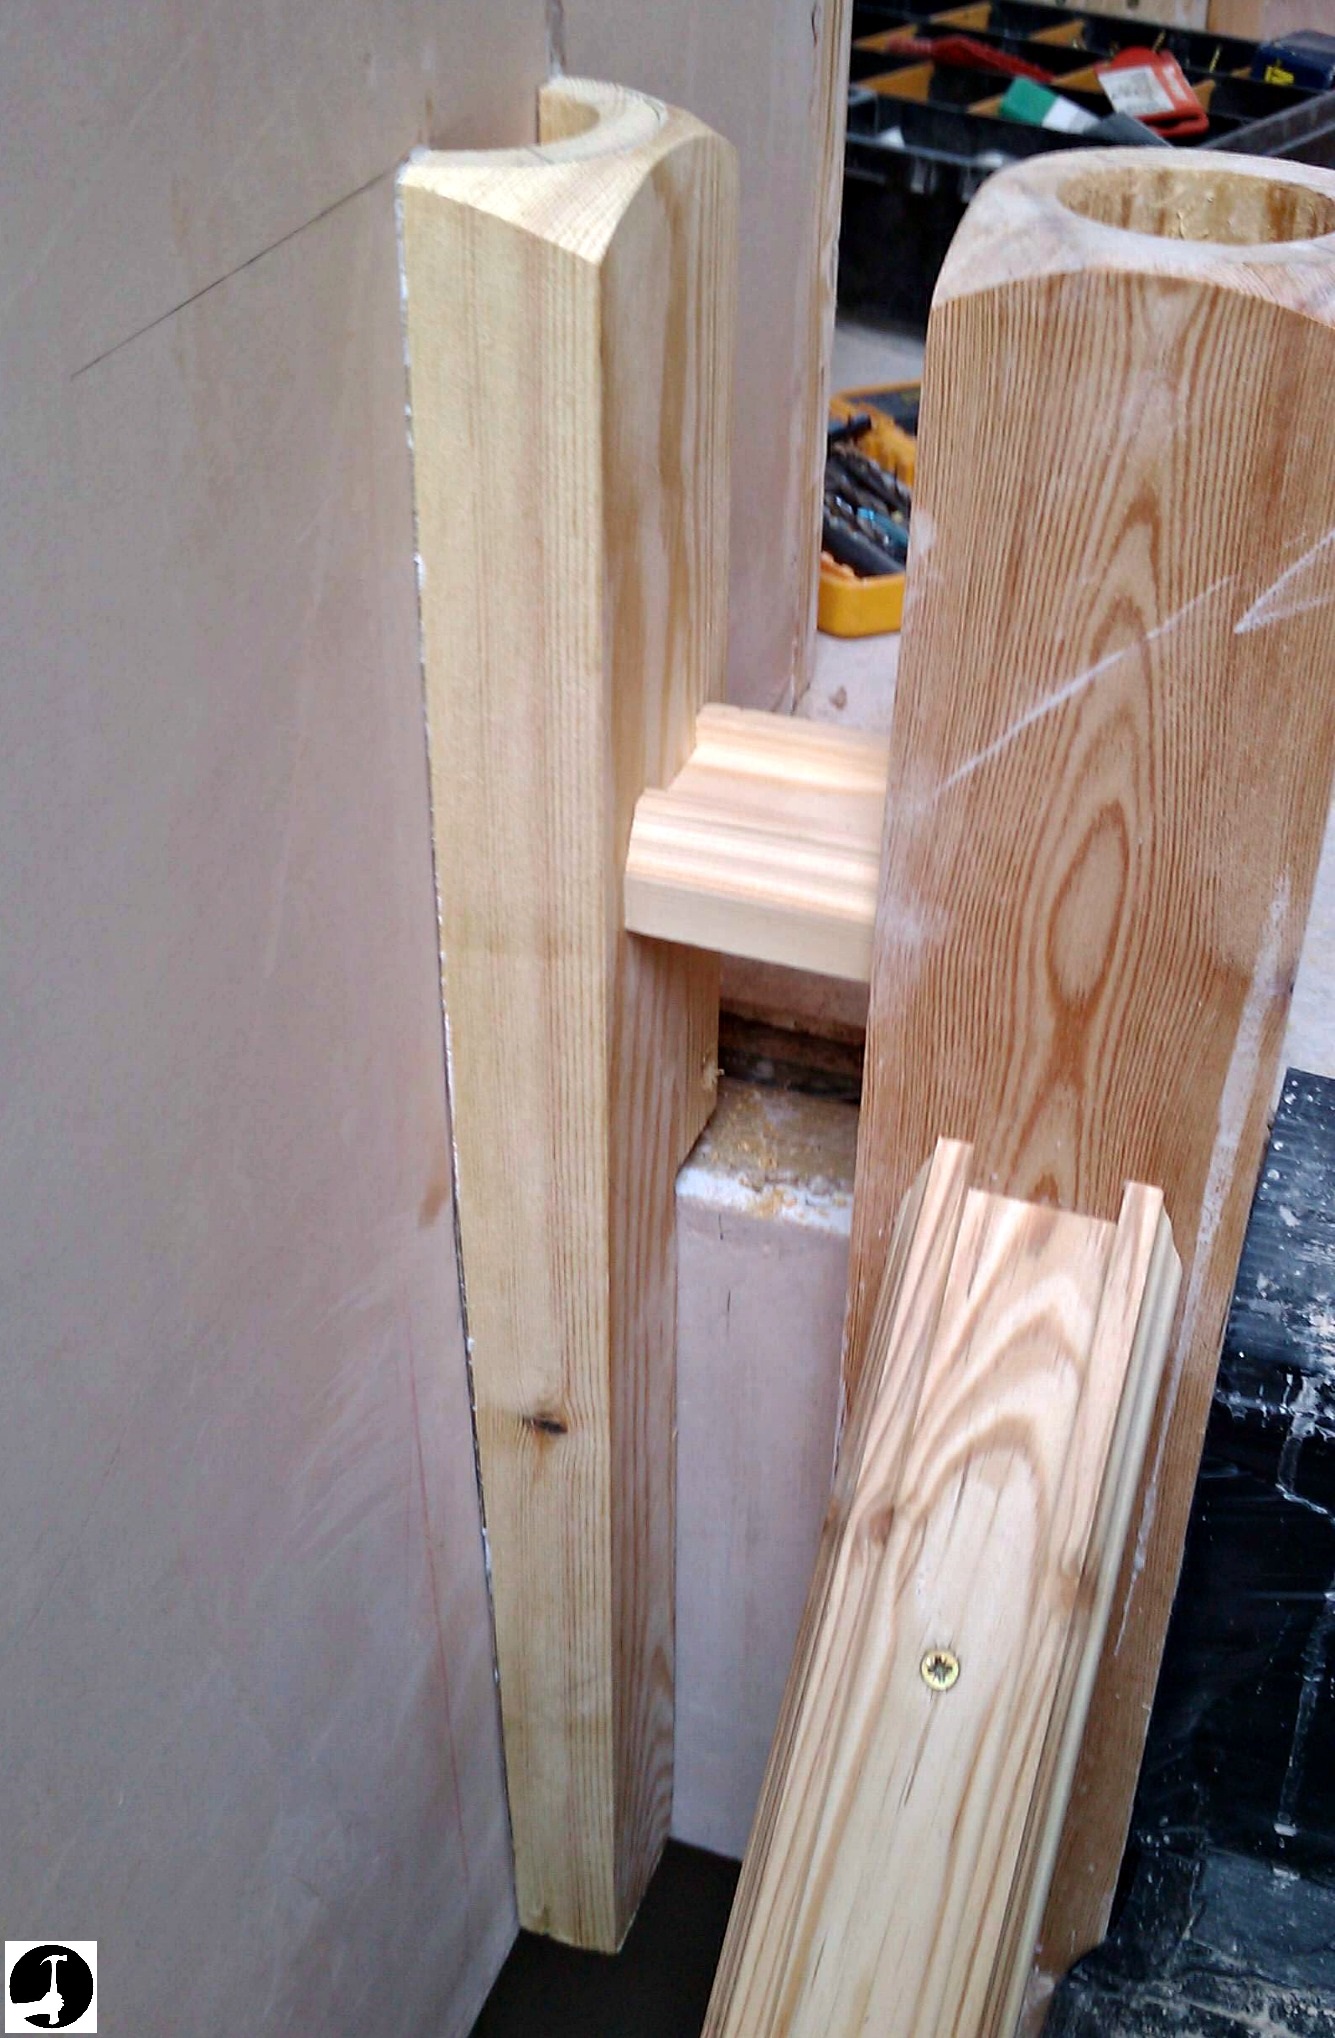 |
Once the base is scribed into position and sights through nicely with the existing base I stuck it to the wall with Gripfill and used the base rail to wedge it in position till the glue goes off.
There won't be any chance of this coming off as no one will pull on it, all the stress will be on the post, hand rail and half newel above it.
After that I put the top half of the post into the position and use a spirit level to make sure it's plumb. Mark a faint pencil line around the sides of the top half and remove it.
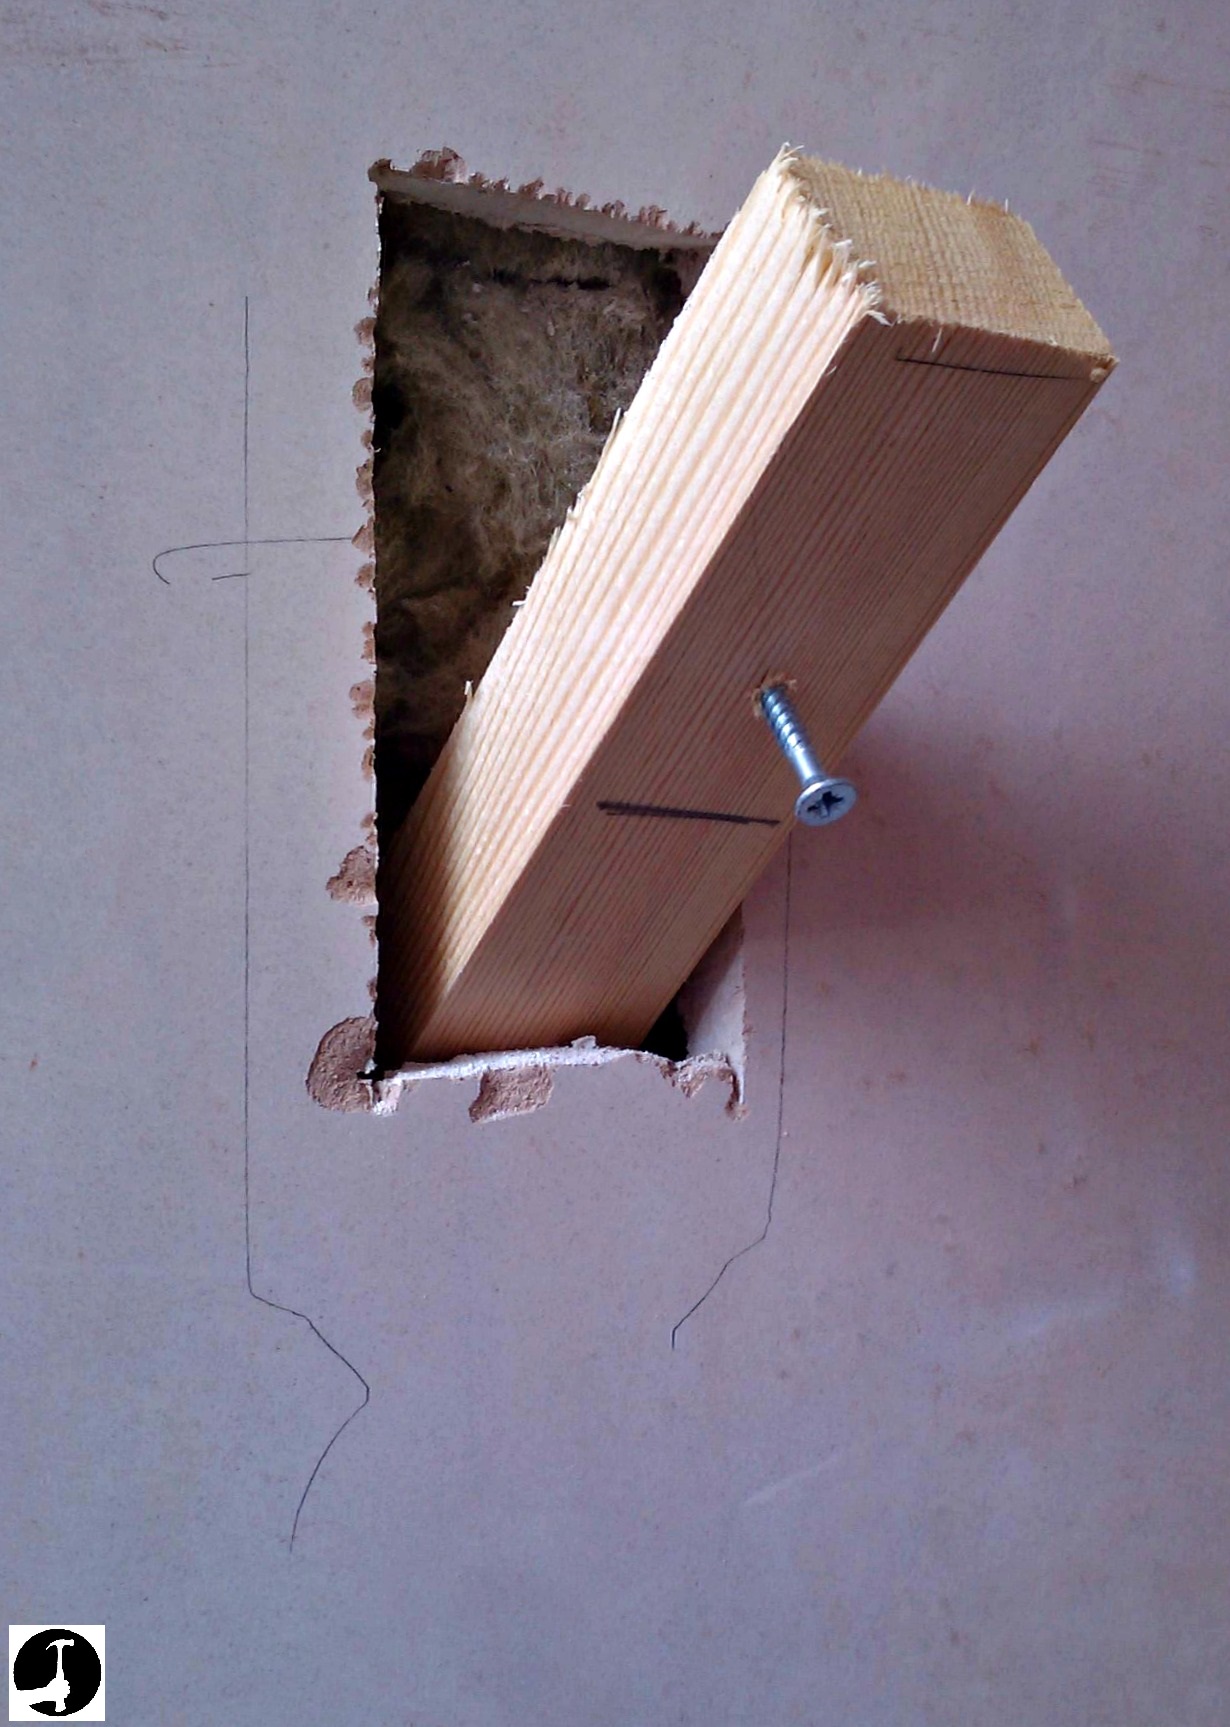
Bang a nail into the wall where it will later be hidden to find the studs. In this case there weren't any, so I had to take a scrap piece of timber (I used the off cut from the base) and cut a hole where it will be hidden, shorter than the length of timber but wide enough to get it in. I always mark the center of the timber before I put it inside the wall this way so that when it's in the wall I can easily position it.
<p>I also wind a screw in for two reasons. It gives me something to hold so the timber doesn't disappear into the wall and I can use the claw on my hammer to pull it tight while I screw it through the plasterboard. Once fixed, put the piece of plasterboard that you cut out back in too so there's no gap.
 |
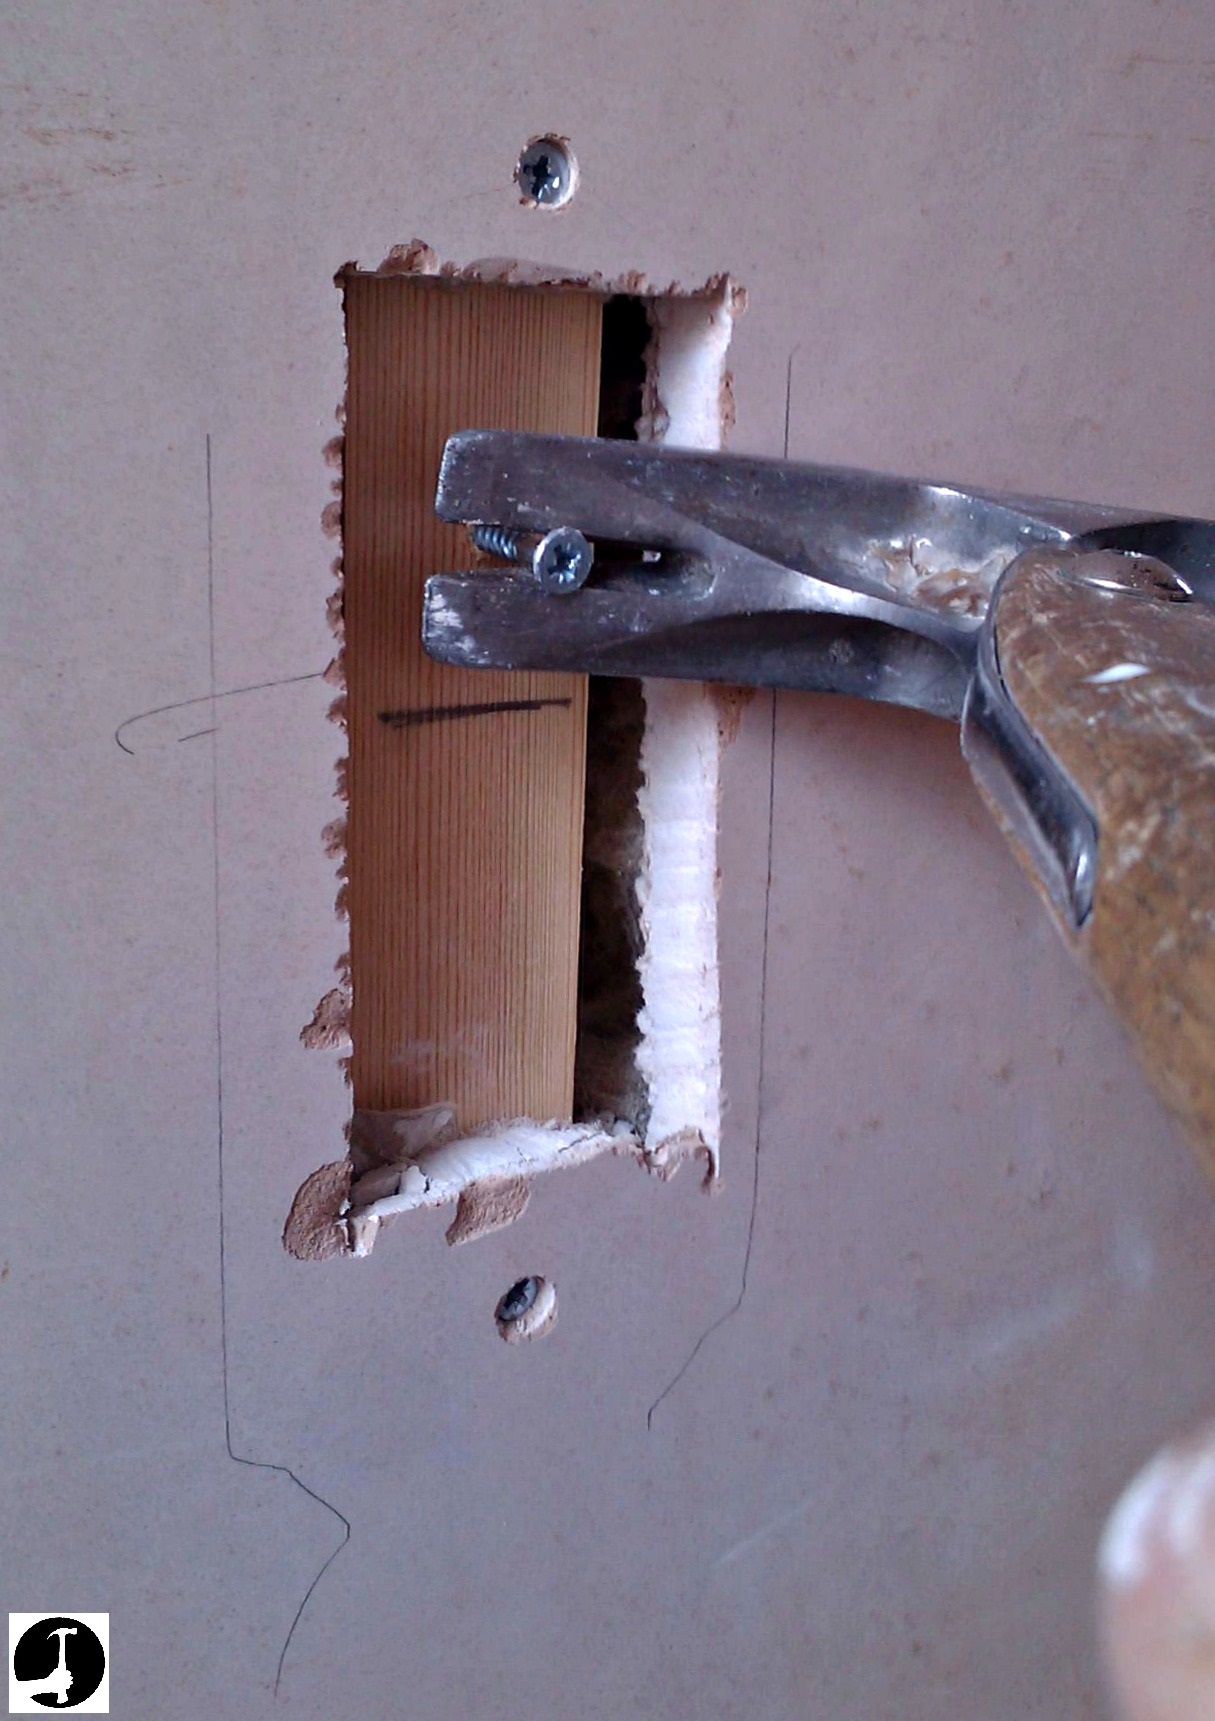 |
Because the timber is 150mm longer than the hole the only way that half newel will come away when it's screwed is if someone rips that big bit of timber through the plasterboard (not going to happen).
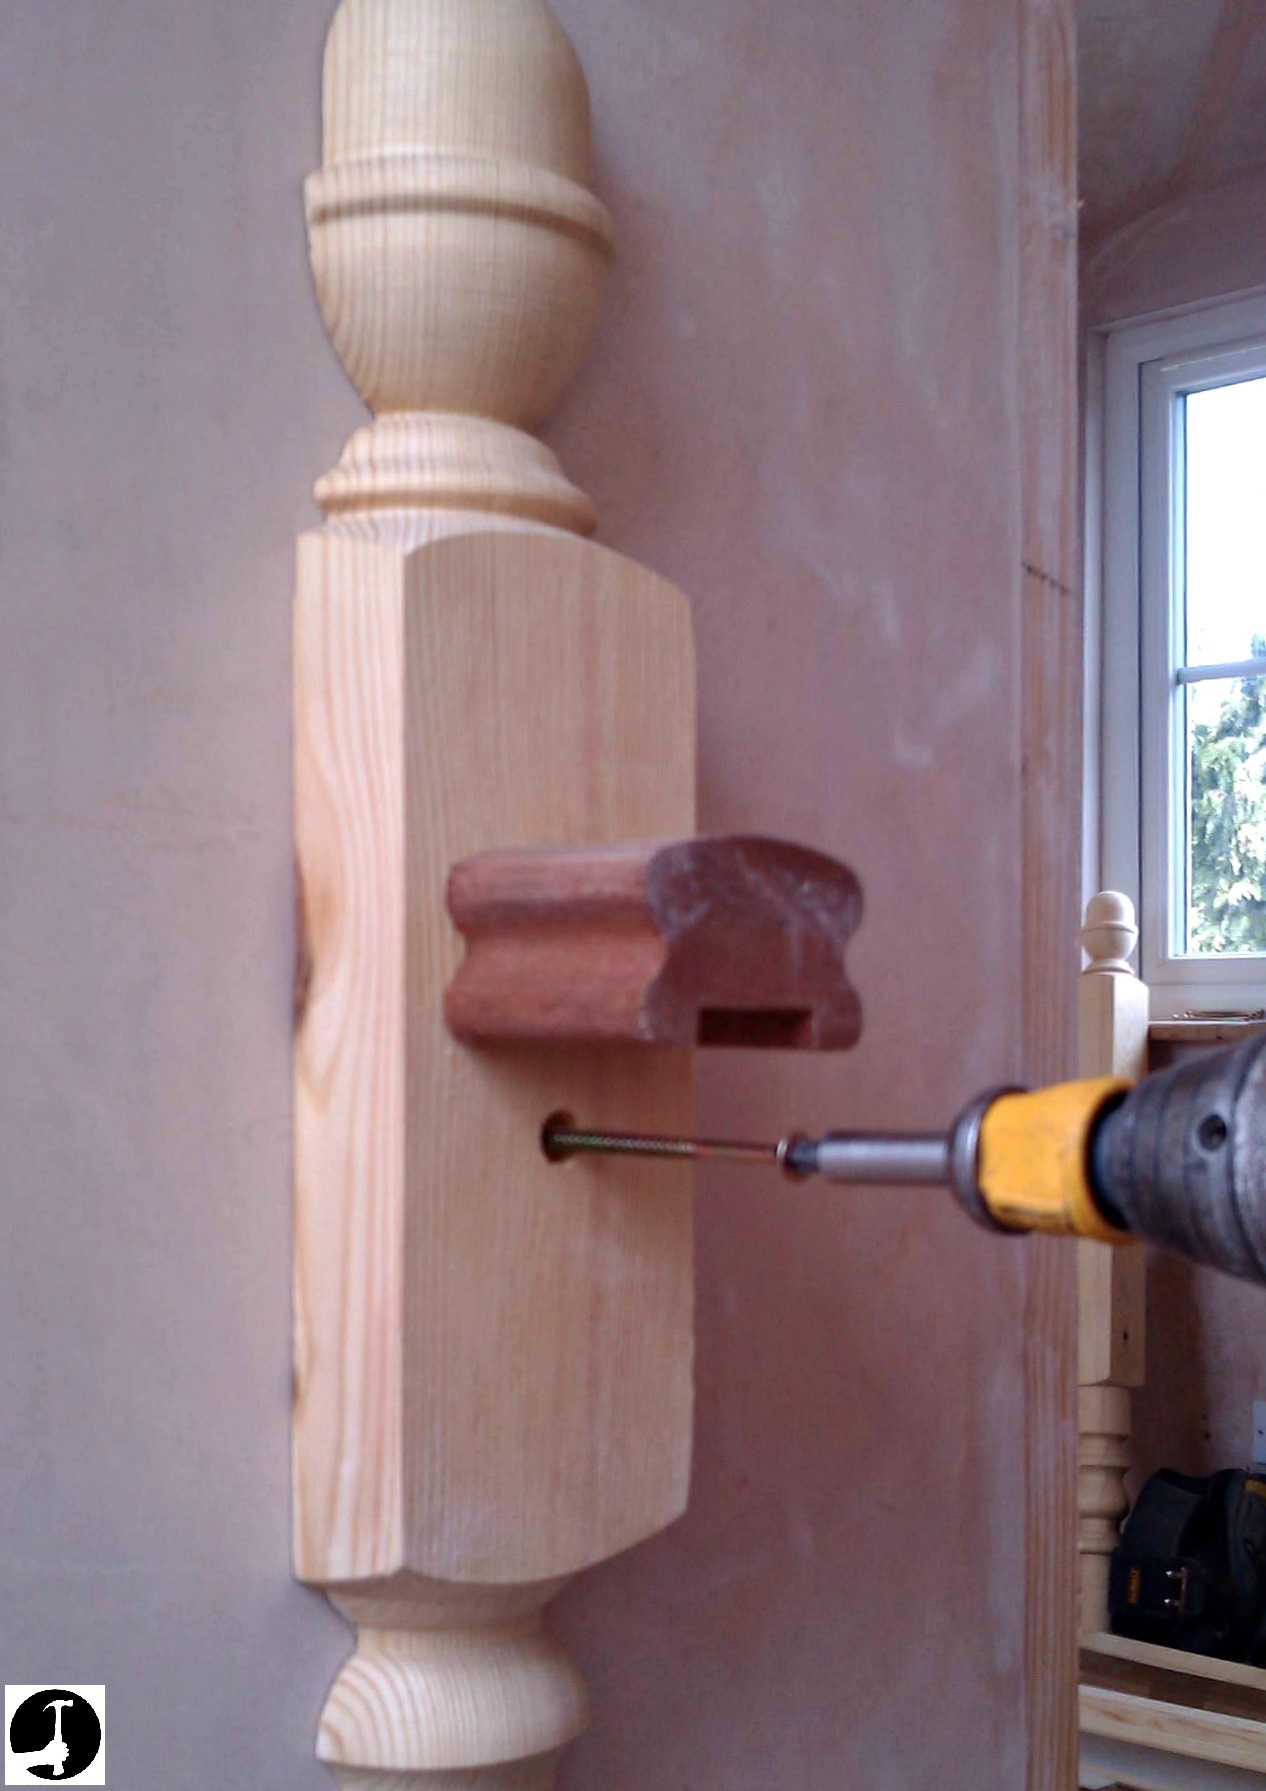
All that's left to do is cut a piece of hand rail the same length as the gap between the newel bases at the bottom. Fix it by screwing through the back of the half newel. Whenever you are fixing stair parts it's important to keep visible fixings to an absolute minimum. I've worked with people who will actually screw straight through a handrail and then just fill it! That is absolute carnage!
It's not even difficult or expensive to hide the fixings, all I do is drill a 10mm deep hole with an auger bit and screw the half newel to the timber with 100mm wood screws. Then, using a corresponding plug cutter cut a wooden pellet out of the timber I'm actually using to fill the auger bit hole. This can then be planed or pared down with a sharp chisel and sanded smooth. Fixing this way, unlike using filler the pellets will shrink at the same rate as the timber being fixed.
I place the screw holes under the hand rail when possible or another spot where they are less likely to be seen.
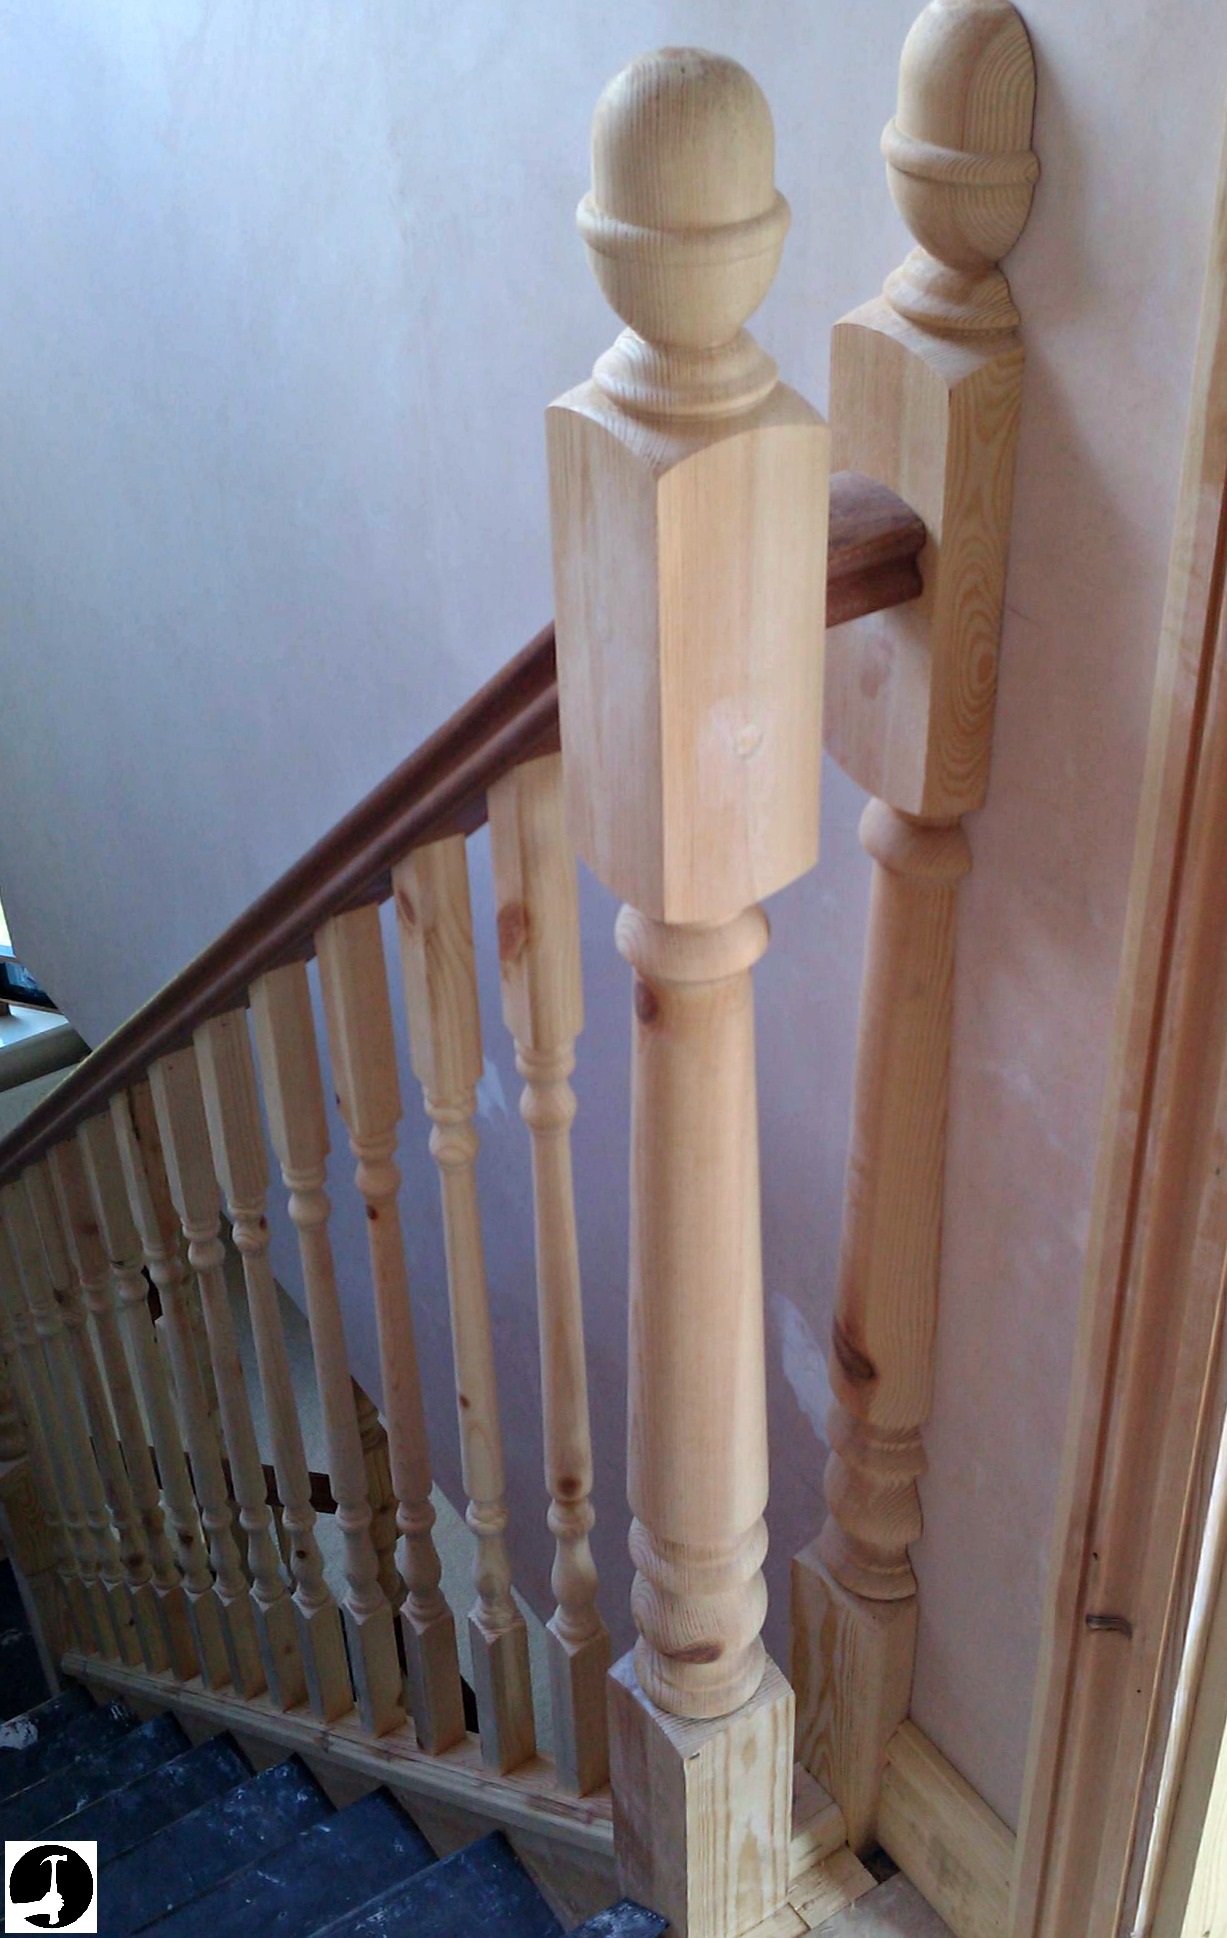
The finished result:
How to finish half a newel post at a doorway
There was enough space in the above example however sometimes on a small landing the newel post needs to fit right where the architrave sits around a doorway.
If you're using square posts and have Chamfered or squarish architrave this might not be a problem. Nine times out of ten though the post is a turned newel and the architrave something detailed like Ogee.
In this instance I first fit a piece of square timber slightly wider and taller than the post. This gives something to sit the architrave on top of and then the post to, like in these before/after pics,
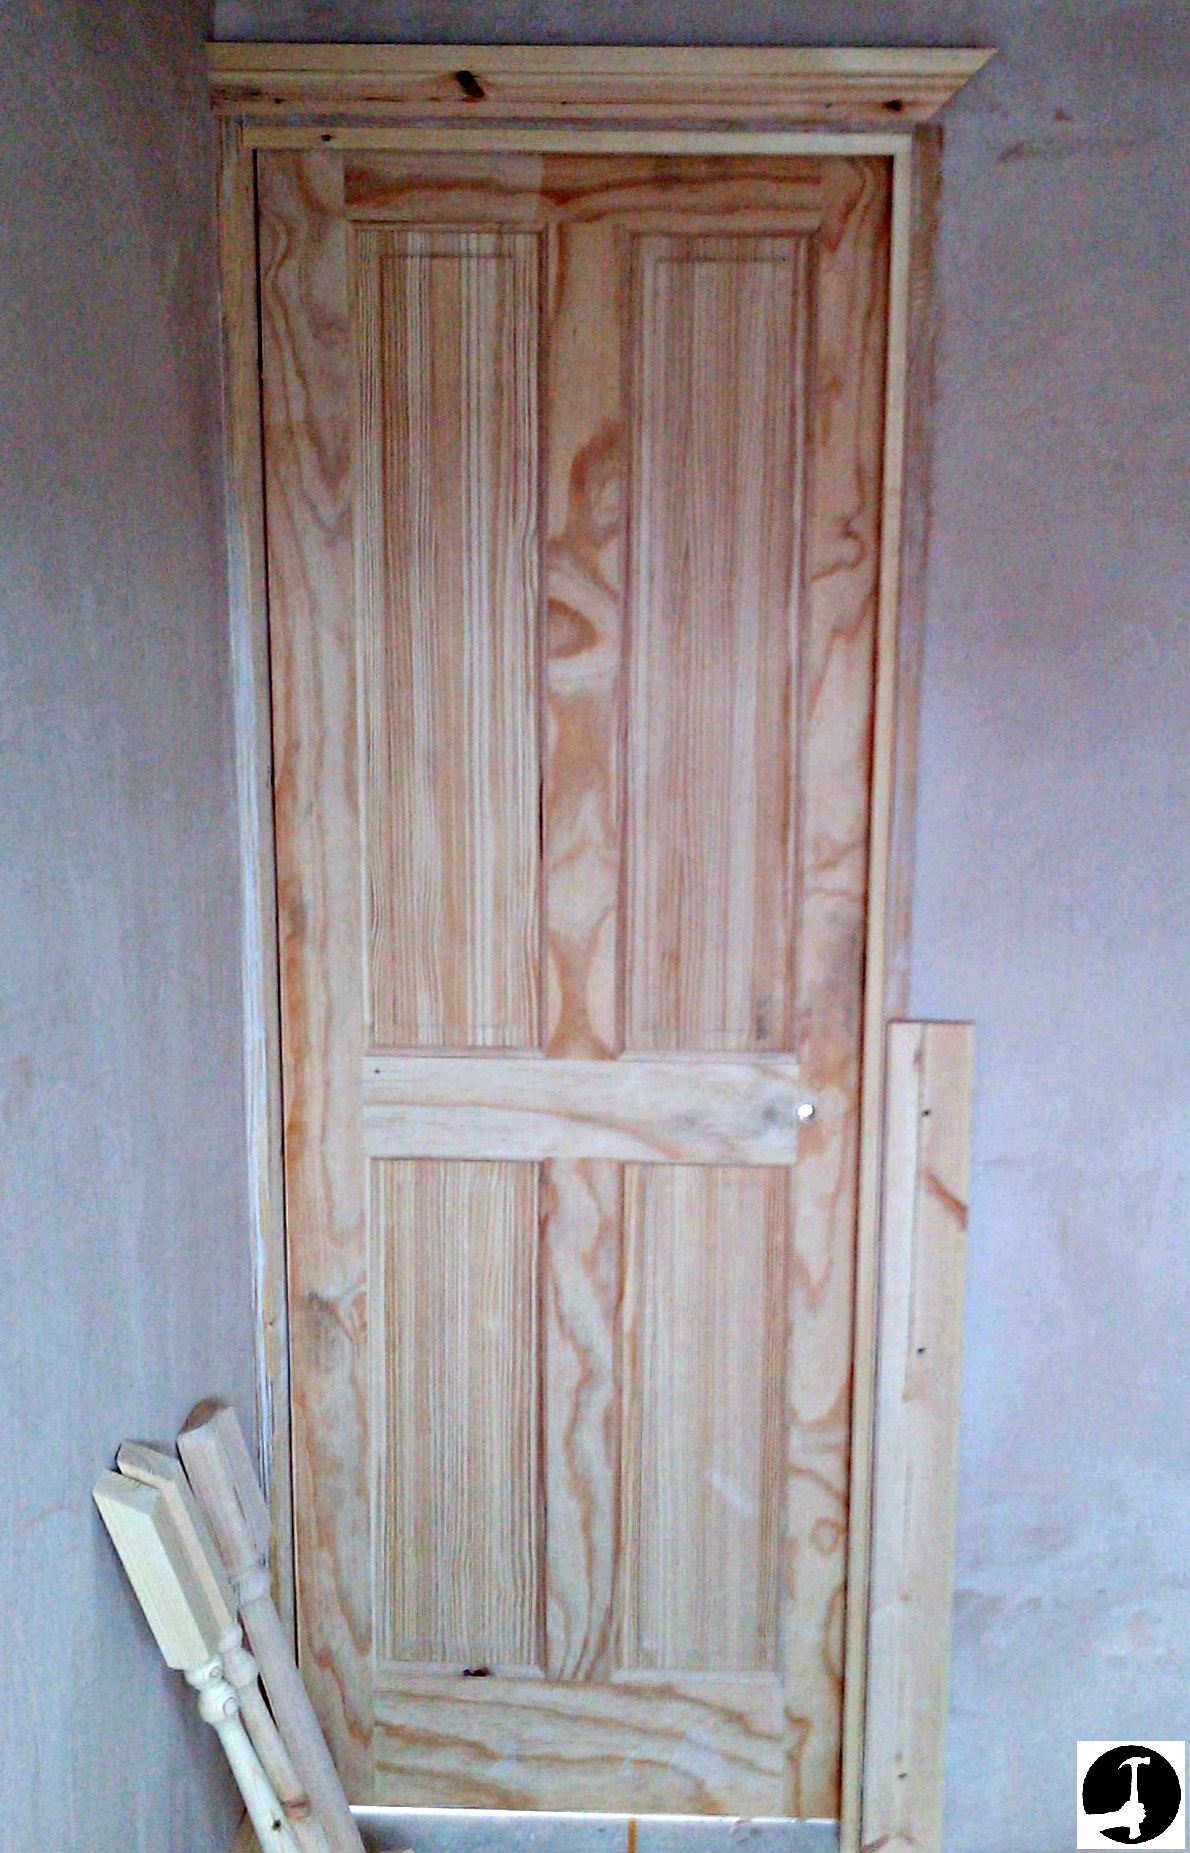
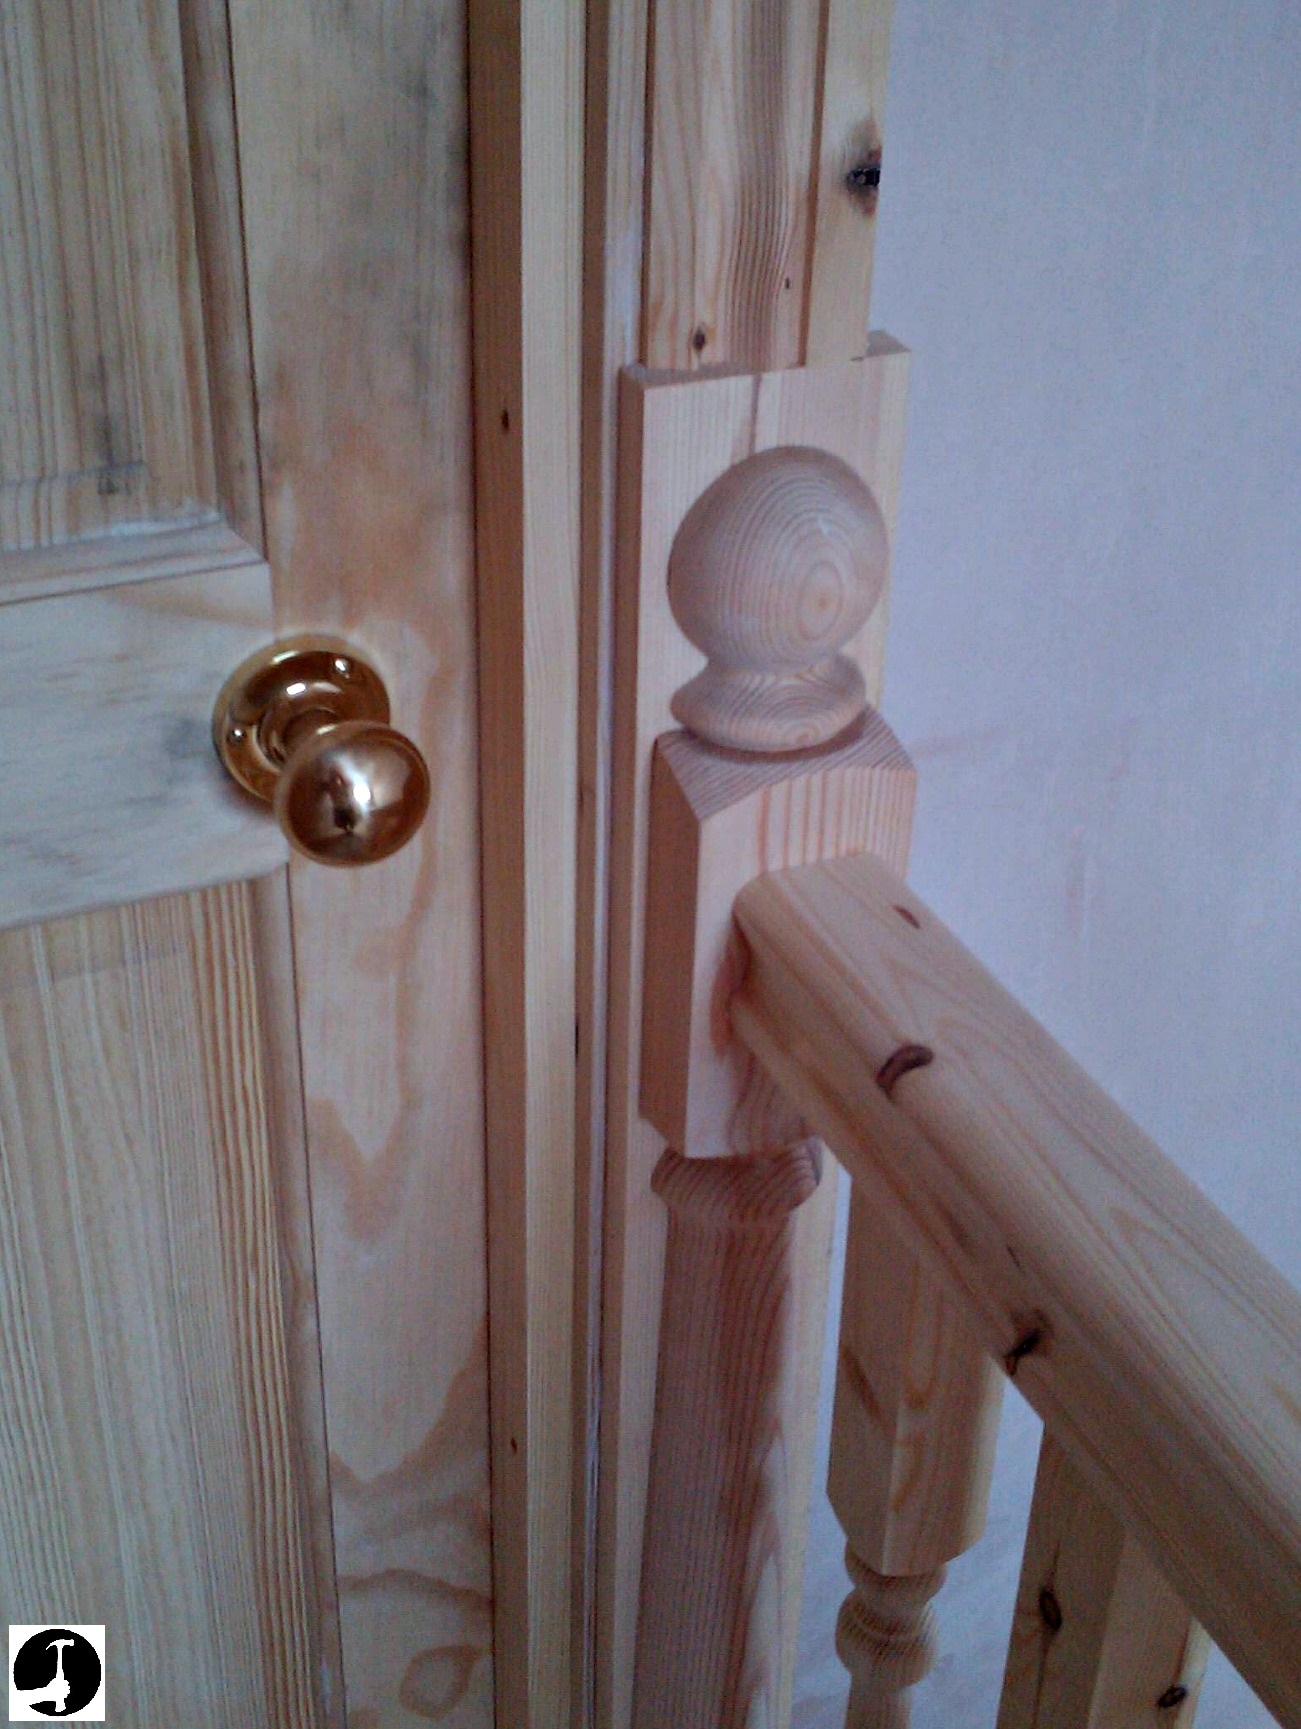
If you don't have a half newel or there isn't enough room for one
Sometimes things are even tighter and there isn't even enough room to fit a half newel post to the wall but the gap is still too large to just leave empty.
Or maybe to keep the cost down you don't want to cut a post in half.
In these cases I rip a spindle in half and fix that to the wall instead. To do this with a turned spindle, you need to fix a piece of straight timber to the side of it so you can pass it through the table saw.
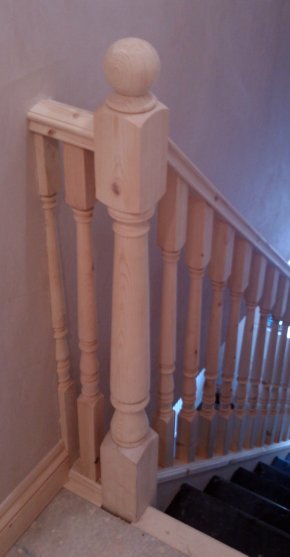
Using half a spindle finishes it off and also gives you something to fix the handrail to, that in turn strengthens the newel post up. Make sure you put plenty of Gripfill on the back so it won't come off the wall too.
Click here for full newel post installations
Or click here for help installing handrails to the posts