How to Install Stairs
Step by step instructions for fitting a timber staircase
The first time I learned how to install stairs it was a fairly slow process and a bit of a struggle. It's a two man job, and especially when fitting winder flights of stairs you could need to have some timber (3x2 or 4x2)to hand to use as props. Scaffold planks and some steps come in handy too. The first thing I do when I turn up on site to fit a staircase is measure the floor to floor and the height of the staircase. Sometimes you'll need to hold a spirit level to measure down from or you can level a line round the stairwell wall. Then, I measure the rise of each tread and multiply it by the number of treads there are. Even if the paperwork tells me the height of the stairs I check it's been made to the measurements. If the floor to floor isn't the same as the height of the stairs it's not going to be straight forward..
Crucial measurements
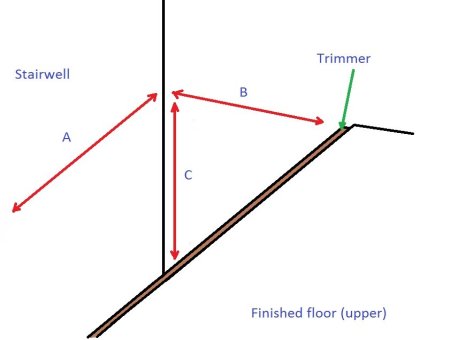
The picture above shows the things to check before installing the staircase (for a staircase with a turn at the top). Measurement A is the length of the stairwell, and staircase. Measurement B is the width of the staircase, and in the example on this page will determine how much to cut out of the newel post when notching it over the trimmer. Measurement C is the finished floor to floor.
How to install stairs
Step 1:
The staircase I'm fitting in these pics is a double winder flight and when fitting them I almost always start with the top section. First, I drill and countersink the nosing ready to screw to the trimmer, then measure from the trimmer to the opposite wall if there is one. This measurement will determine how much to notch out of the newel post under the nosing. I use a spirit level up against the opposite stir string to give something to measure from. Then cut the top newel round the stair trimmer/joist.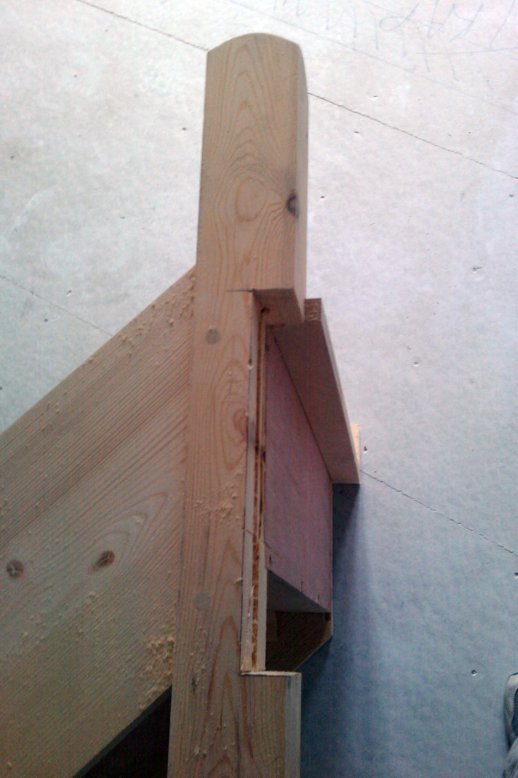
All you do (If the nosing is the same thickness as the flooring) is measure the height of the trimming joist and transfer that onto the newel starting from the underside of the nosing. I measured horizontally from the wall opposite to the trimmer to get the stairwell width. I then knew how far from the wall end of the stairs to the post to measure to determine the depth of the notch. In this instance I had to take it right to the back of the riser, the staircase was pretty tight.
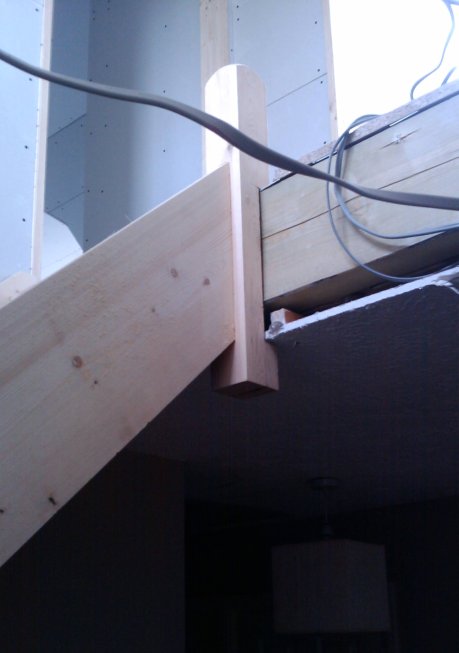
Once notched I could lift the top section of the staircase into position and screw down through the (pre-drilled) nosing. This is light enough to hold in position while someone takes a measurement for a prop underneath. If you are propping off another staircase or finished floor, put some timber down first to distribute the load from the prop.
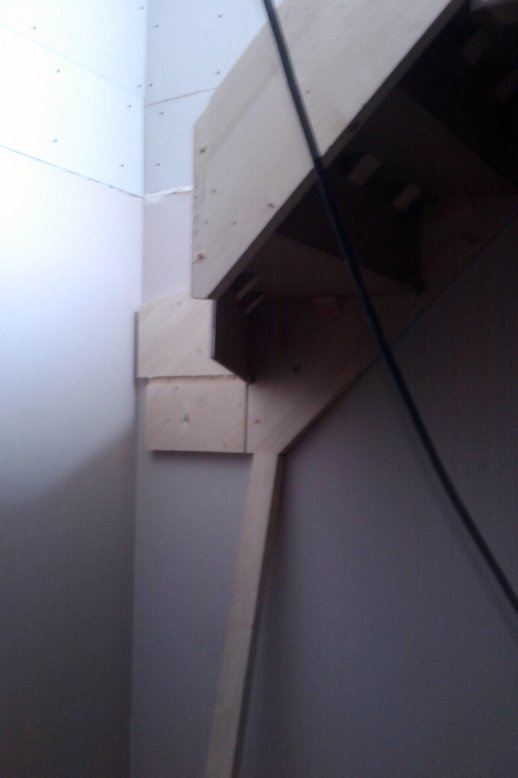
With the prop in place taking all the weight, check that it is level before fixing the string to the wall. For masonry walls I use really strong strong masonry anchor bolts drilled through from the underside where they won't be visible. For timber stud-work walls fix with large wood-screws into the vertical studs, two per stud wherever possible.
Once fixed firmly in place the next section can be offered up and propped in place (I do this dry to check it will fit OK before removing to apply lots of wood glue). Put plenty of glue in the mortices/on the tenons and on the back and sides of the treads where they will meet the riser and string.
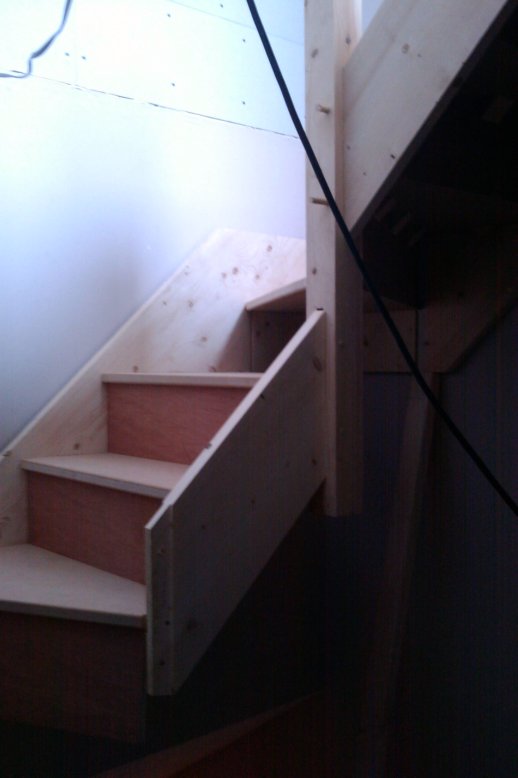
Mortices and tenons are held together with draw dowels. Holes will have been drilled through the posts by the joiner who built the stairs, and a hole drilled through the tenon slightly offset so that when a dowel is passed through it pulls the tenon tight into the mortice, closing any gaps between the post and shoulder.
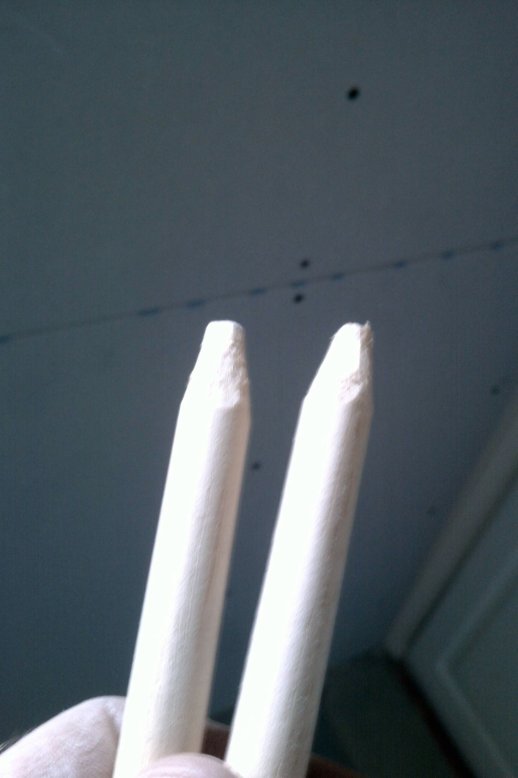
It's important to sharpen the dowels like pencils (like in the picture below, or even sharper) so that they find their way through the off-set hole in the tenon and back out through the other side of the post without breaking or splitting anything. Put loads of glue in the hole before hitting the dowels through with a wooden mallet.
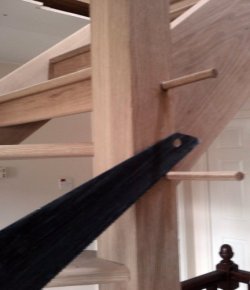
When cutting the dowels off be really careful not to scratch the newel post. I leave them a little long, and clean them up with a block plane.
Fitting treads and risers
The bottom section goes in last, exactly the same as the middle. Most of the treads and risers will be fitted already when the staircase arrives on site. The rest of the treads will need to be cut to size to install In-situ, the risers often need cutting to length. risers fitted n some instances it's necessary to install the risers as you go, same with treads. Otherwise they can go in last. When cutting risers for kites/winder treads you need to cut an angle on the sides so the face edge meets tight with the post.
What's next?
Once the stairs are in you can install the handrails.
Then calculate how many spindles are needed