Timber Newel Post Installation
How to fit staircase, decking & porch newel posts for balustrades
The newel post installation is usually left until the finishing stages. Newel bases can be fitted before during plaster boarding then the top of the posts can be left until later on so it doesn't get damaged.
The timber balustrade with posts, hand rails and spindles are easily one of the most rewarding carpentry jobs there is, and the one clients are really impressed by. You can even completely transform an existing staircase and give it a new lease of life if you know how to install new newel posts, handrails and spindles.
To me, the staircase is one of the most important features in a house, it's a piece of furniture and can create a real wow factor when people walk through the door. When done badly posts wobble and I've come across instances where the half newels haven't been fixed to the wall properly and have come away. It's important during the newel post installation that everything gets loads of glue and is solid, people pull themselves up using the stair parts and kids jump all over them so they need to be really strong in order to last a long time.
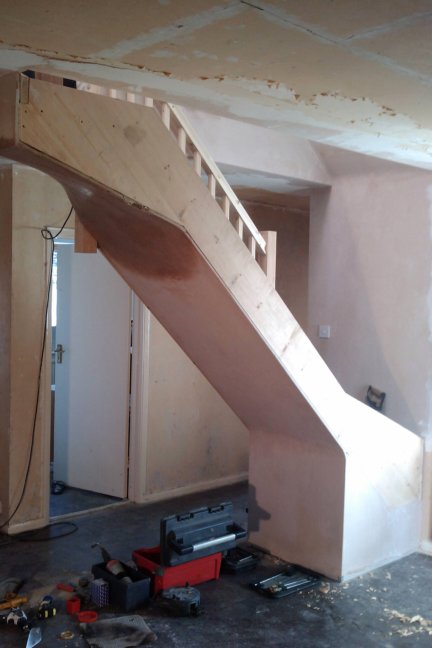
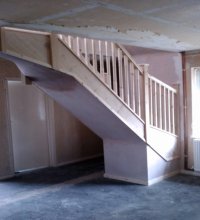
There are several different styles of stair parts and I don't always fit out new staircases. One of the jobs I often get asked to do for people is to renovate an existing staircase and transform it into something totally different. This usually involves removing the old handrails, base-rails and spindles if there are any (sometimes the balustrade is just a wall) and cutting off the old newel posts, before installing some brand new stair parts.
New newel post installation on old stairs
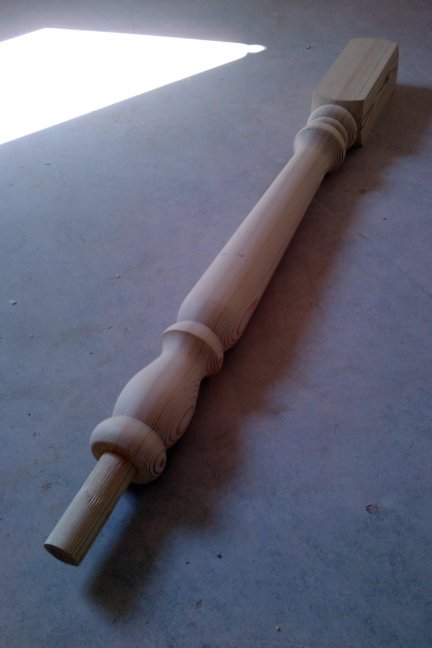
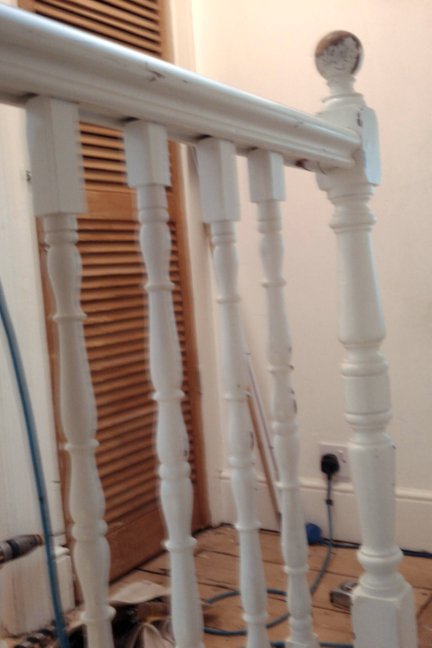
These are some old stair parts that a client didn't like any more and wanted to have replaced and updated. A lot of them were broken and because they were old in order to match them they would need to be turned on a copy lathe by a specialist wood turner. Instead, I used off the shelf stair parts from Richard Burbridge.
The handrail was at the right height (min 900mm for building regulations) so the first thing I did was hold the new newel post up to the old one. They were the same length, so all I had to do was cut the old post straight off neatly with a sharp hand saw, where the turned part met the square base section. Then, looking down at it from the top I marked a pencil line from corner to corner to find the center point ready to drill the spiggot hole for the replacement newel post.
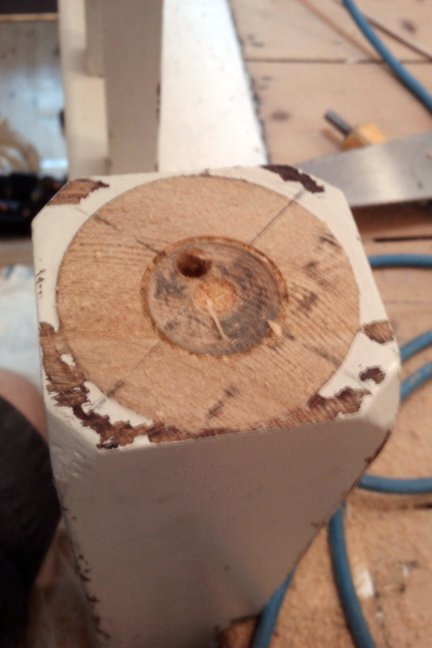

The new post has a large dowel left on the bottom when it's turned so all you do is drill a hole in the base to take it. I've got a 32mm Auger bit for drilling the dowels on 70mm posts and a 50mm Forstner bit for larger (80/90mm) newel posts. Because you are drilling end grain it's not the easiest hole to drill and you need to constantly check as you go that you are dead straight because if the hole is wonky the new post will be too!
After drilling I put the new post in dry to make sure it fits OK and check it with a spirit level. It might not be perfectly level if the post/base were out to begin with, but it should line up straight up from the base in both directions. This is something you can check before you cut off the old post and try to compensate a little when drilling so the new post is closer to level, but there's rarely much in it.
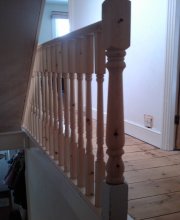
I leave the post in dry and cut the new base rail and hand rail and use two spindles to hold them at 900mm whilst I make sure everything fits OK.
Whats next?
Once I'm happy I drill all the plug cutter holes etc. for fixing the handrails and also remove the post.
After you have installed the full newel posts you may need to fit some half newel posts, otherwise you can move straight on to installing the hand rails.
Before fixing the posts I have the handrails ready to fit at the same time to prevent fixing the posts slightly out of square with the bases or handrail.
Always put a generous amount of PVA wood glue on all the joints and then assemble everything together.
Once glued and screwed together all that is needed is to use a simple formula to calculate how many spindles are required and then cut them all to length.