How to scribe skirting board for perfect inside corner joints
In order to get a tight joint you have to scribe skirting board at internal corners instead of mitering them.
Click here to learn how to scribe skirting boards down to the floor if it is uneven.
This means fitting one board by butting it straight into the corner, then cutting the next one in to match the exact profile, so it fits perfectly up against the first.
Whilst this sounds difficult for very intricate mouldings it is actually really straight forward.
This page has everything you need to know first for internal 90° corners, and after that to scribe skirting board into corners other than 90 degrees like 122.5°, often found in bay windows.
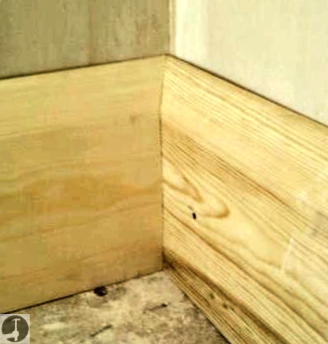
Step by step guide for cutting internal skirting board corners
This page picks up where the main skirting board page started, so the first board should already be installed tight into the corner. Click here to visit that page if you haven't already
- Step 1: Cut a back mitre
I Take a measurement for the next piece and add about 100mm (4 inches).
Transfer this measurement to a new piece of skirting board and cut to length. Place this onto the chop saw standing up exactly as it will be on the wall and turn the saw to 45°, as though you were mitering the internal corner all the way.
Cut down through the top part of the moulding only, and stop when the saw blade reaches the flat surface, like in the picture of a Chamfered skirting board below.
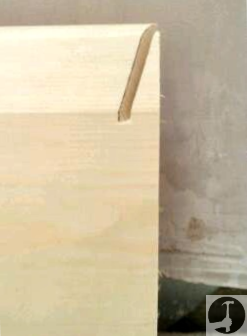
- Step 2: Use a compass to scribe one skirting board shape onto the other
Offer this up to the board that is already nailed in place. Put the pencil in your compass and use it to scribe the shape of the first board onto the second as shown in the picture (start the pencil line from the saw cut downwards).
You can now see the exact amount (everything to the right of the pencil line) that needs to be cut out!
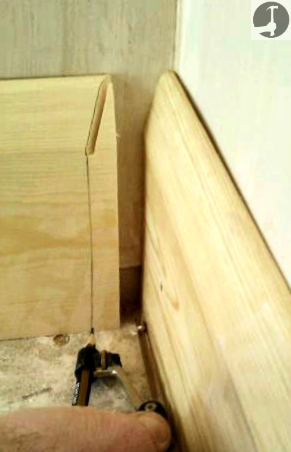
- Step 3: Cut the waste out out with a coping saw
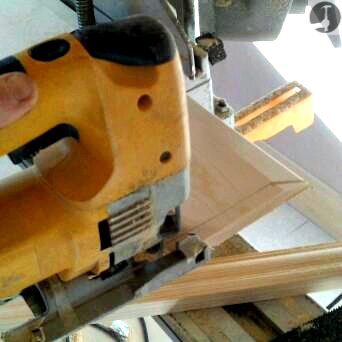
If when you scribe skirting board it's perfectly straight then it can be cut with a miter saw. If not, I use my jigsaw with a downward cutting blade.
Keeping the saw blade to the right hand side of the pencil line I carefully cut the skirting up to the part first scribed with the compass.
Let the blade stop and remove the jigsaw. Finish the rest off with a coping saw that has a fine blade.
When coping intricate baseboard trim, it's sometimes difficult to remove the waste so to make this easier cut at an angle, taking more timber out of the back of the board where it won't be seen. By doing this you ensure it doesn't get in the way of the face edges touching if the wall is very slightly out of square. Finally sand off any pencil lines and,
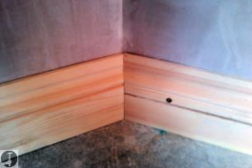
It should fit like this!

How to scribe skirting board angles other than 45/90 (122.5°, 135° etc)
When the corner is not 90°, the method is the same but there's a little more worth knowing in order to scribe skirting boards in tight.
Again, as above cut one board tight into the corner, using a bevel to determine the angle and fix it firmly in place. I fix it at this stage otherwise you could scribe into a board that's going to move when you fix it.
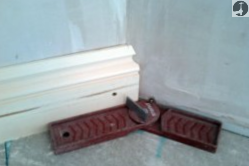
- Step 1: Bisect the angle
To scribe the next one into it, the first thing to do is bisect the angle of the walls that the skirting will be fitted to. I do this every time, in case it isn't exactly 122.5°.
Click here for more help bisecting angles.
Once found, set the mitre saw to the bisected angle.
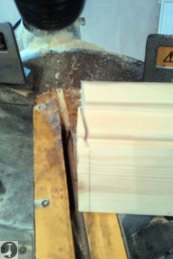
- Step 2: Cut the profile or moulding to the marked lines
Next, grab another piece long enough and cut the angle but as with when cutting a normal 45 degree corner, only cut through the mouldings profile, down to where the board becomes flat.
I use a combination square to mark a line on the face of the board from the end of that cut on the profile down to the bottom of the board.
This will help to guide the next cut correctly (you can use a compass to scribe skirting board like the normal corner above if the first one is cupped).
Turn the skirting board upside down and set the saw to the original angle, that the first board was cut to but in the opposite direction.
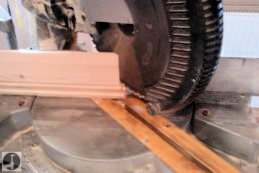
- Step 3: Back-cut the flat face of the skirting board:
This is the cut I used the jigsaw for to scribe skirting board into a normal corner.
This time I cut down through the flat face of the board taking the back of the board out at an angle. The angle to back-cut this part of the skirting will be the same angle the walls are at to each other, as this part of the skirting will fit up against the board already fixed to the wall.
Cutting the back out of the skirting like this ensures it doesn't get in the way of the first board already fixed. If you want to be sure you can adjust the angle to remove a little more out of the back, you can use a handsaw if your miter saw won't do the angle/depth of cut.
You can hopefully visualise that if you cut this square as with a normal internal skirting scribe, this skirting board would not slide up flush to the one already there.
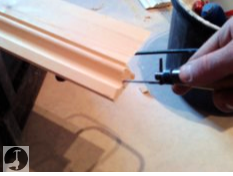
- Step 4: Remove the waste from the profile section with a coping saw:
Finally, use a coping saw to continue cutting all the way through the profile of the moulding too.
The angle at the top needs to be maintained but the angle for the rest will maintain the same cutting angle as the previous step otherwise it will prevent you getting a tight fit.
If in doubt remove a little more - it won't be seen once the board is fixed (don't remove too much and leave the skirting board too thin or it may split when you fix it though).
What comes next?
Click here to find out how I fix skirting boards
Click here to see how you can end skirting boards in different ways
Or click here to go back to the main page about fitting skirting boards
Use the comments section below to add your own tips for scribing skirting boards at inside corners;